
In the winter months…well any time really, but especially in the winter, the smell of bread baking is so delightful.
I first shared this recipe 5 years ago, but it is still a favorite in our house because it is
a.) super easy
b.) delicious, and
c.) flexible!
I know bread is out of favor with many people these days, but not me - I LOVE bread. And nothing is better than home made bread!
I have passed this affection along to my children and in a tradition that started whenever my son headed home from university, I put the dough into the oven when he is an hour away so he has fresh hot bread to welcome him - He has long since graduated now, but I still bake it whenever he is headed home.
The problem with making homemade bread is that it is generally also a workout since it requires kneading. If you need to take out your aggravation on something, I suppose dough is the most productive thing to choose, but it is still a lot of work.
THIS bread recipe, however, is so easy. It requires no kneading at all! It takes only 4 ingredients (and one of them is water!) so it’s easy to keep the supplies on hand.
It is SO simple to make, it just requires a bit of planning ahead, because it needs overnight to rise.
For our recent kitchen makeover (more on that here) we replaced our gas range with an induction range. It seemed fitting that the last thing baked in our old oven was this bread, and the first thing baked in the new oven was this bread as well!
I will confess that I didn’t pay any attention to the timer and forgot to take the bread out on my first rodeo with the new oven so it looked more like a very large crouton than a loaf of bread 😂. But although the crust was tougher and chewier than ideal, the interior was still soft and delicious. This bread really is practically no-fail!
Please note: this post contains affiliate links meaning I may make a small commission on any purchases at no additional cost to you.
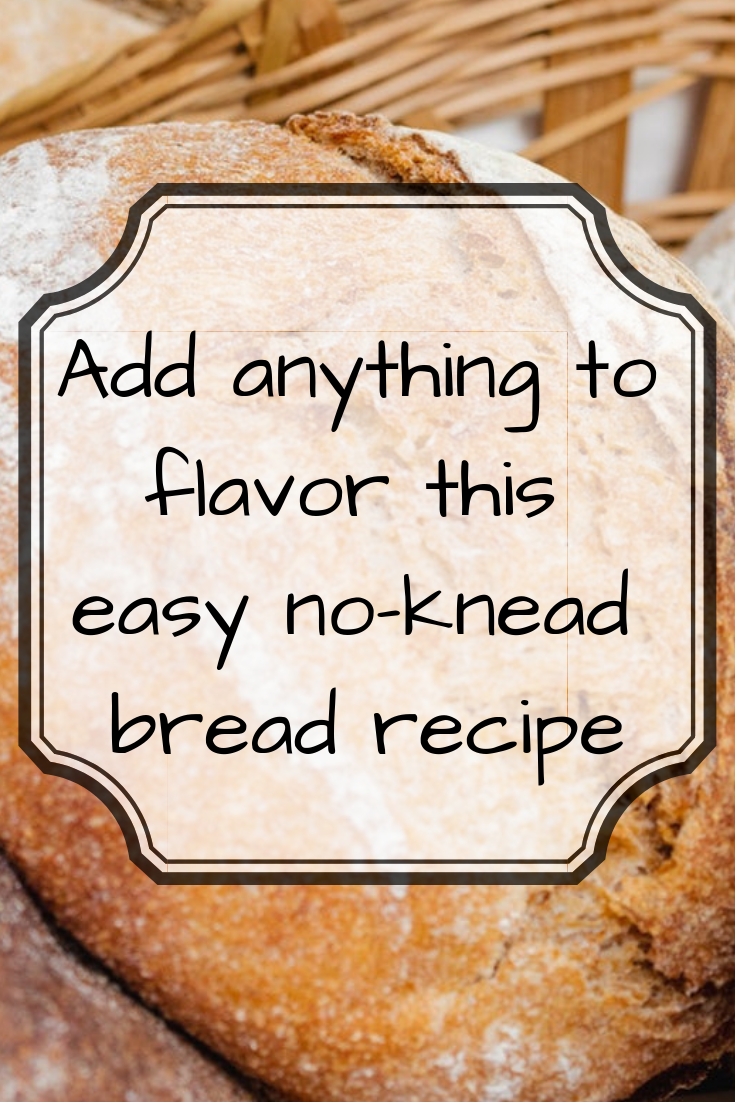
Rustic No-knead Bread Recipe
originally from the New York Times
Tools Needed
Oven (obviously)
Large Bowl
Mixing Spoon
Plastic Cling Wrap
Pastry Mat or Cotton Towel (not terry)
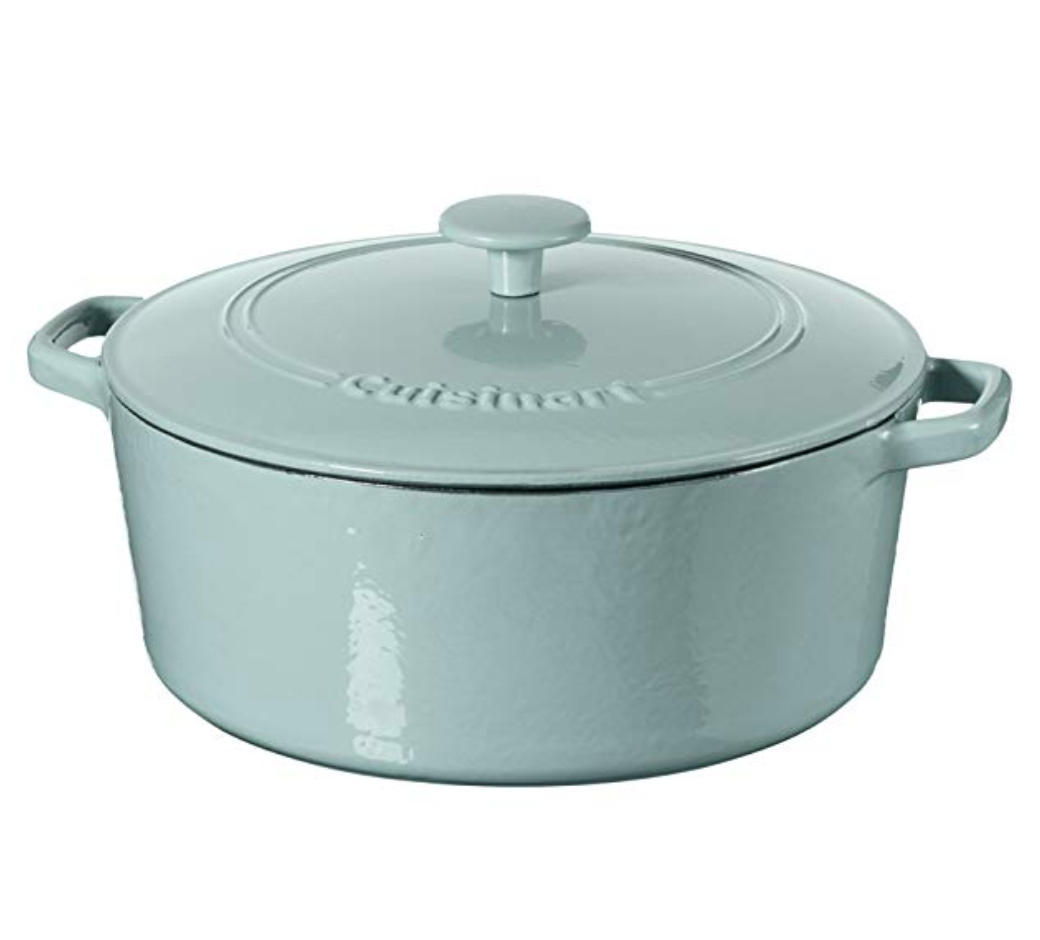
A 6-8 qt heavy covered oven safe pot (enameled cast iron is ideal)


Ingredients
3 cups of flour (all purpose or bread flour or a mix of the two)
1 tsp salt
1/4 tsp active dry yeast
1 5/8 cup water
Directions
In a large bowl, mix dry ingredients, stir in the water.
Stir until all the flour is incorporated.
Cover the bowl with plastic wrap and leave on the counter at least 12 hrs or up to 18. The dough will be increased in volume and bubbly on the surface.
Turn the sticky dough out onto a lightly floured surface, sprinkle a bit more flour onto it and fold it over once or twice.
Cover loosely with plastic wrap or just turn the bowl over it, and let rise for about 2 hrs.
About a half hour before baking, turn on the oven to 450’ to preheat with the empty covered pot inside.
When you are ready to bake, take the pot out of the oven, turn the dough into the pot - it will look a mess, which is no problem - jiggle the pot if you want to encourage it to the middle for a more even round.
Cover and return the pot to the oven for 30-40 minutes. Remove cover and bake another 15 minutes until beautifully browned.
Cool a bit before slicing.
Baking Tips
This makes a decent size loaf, but I have also doubled the recipe with success.
You can substitute other kinds of flour - whole wheat, rye, etc for up to half the flour.
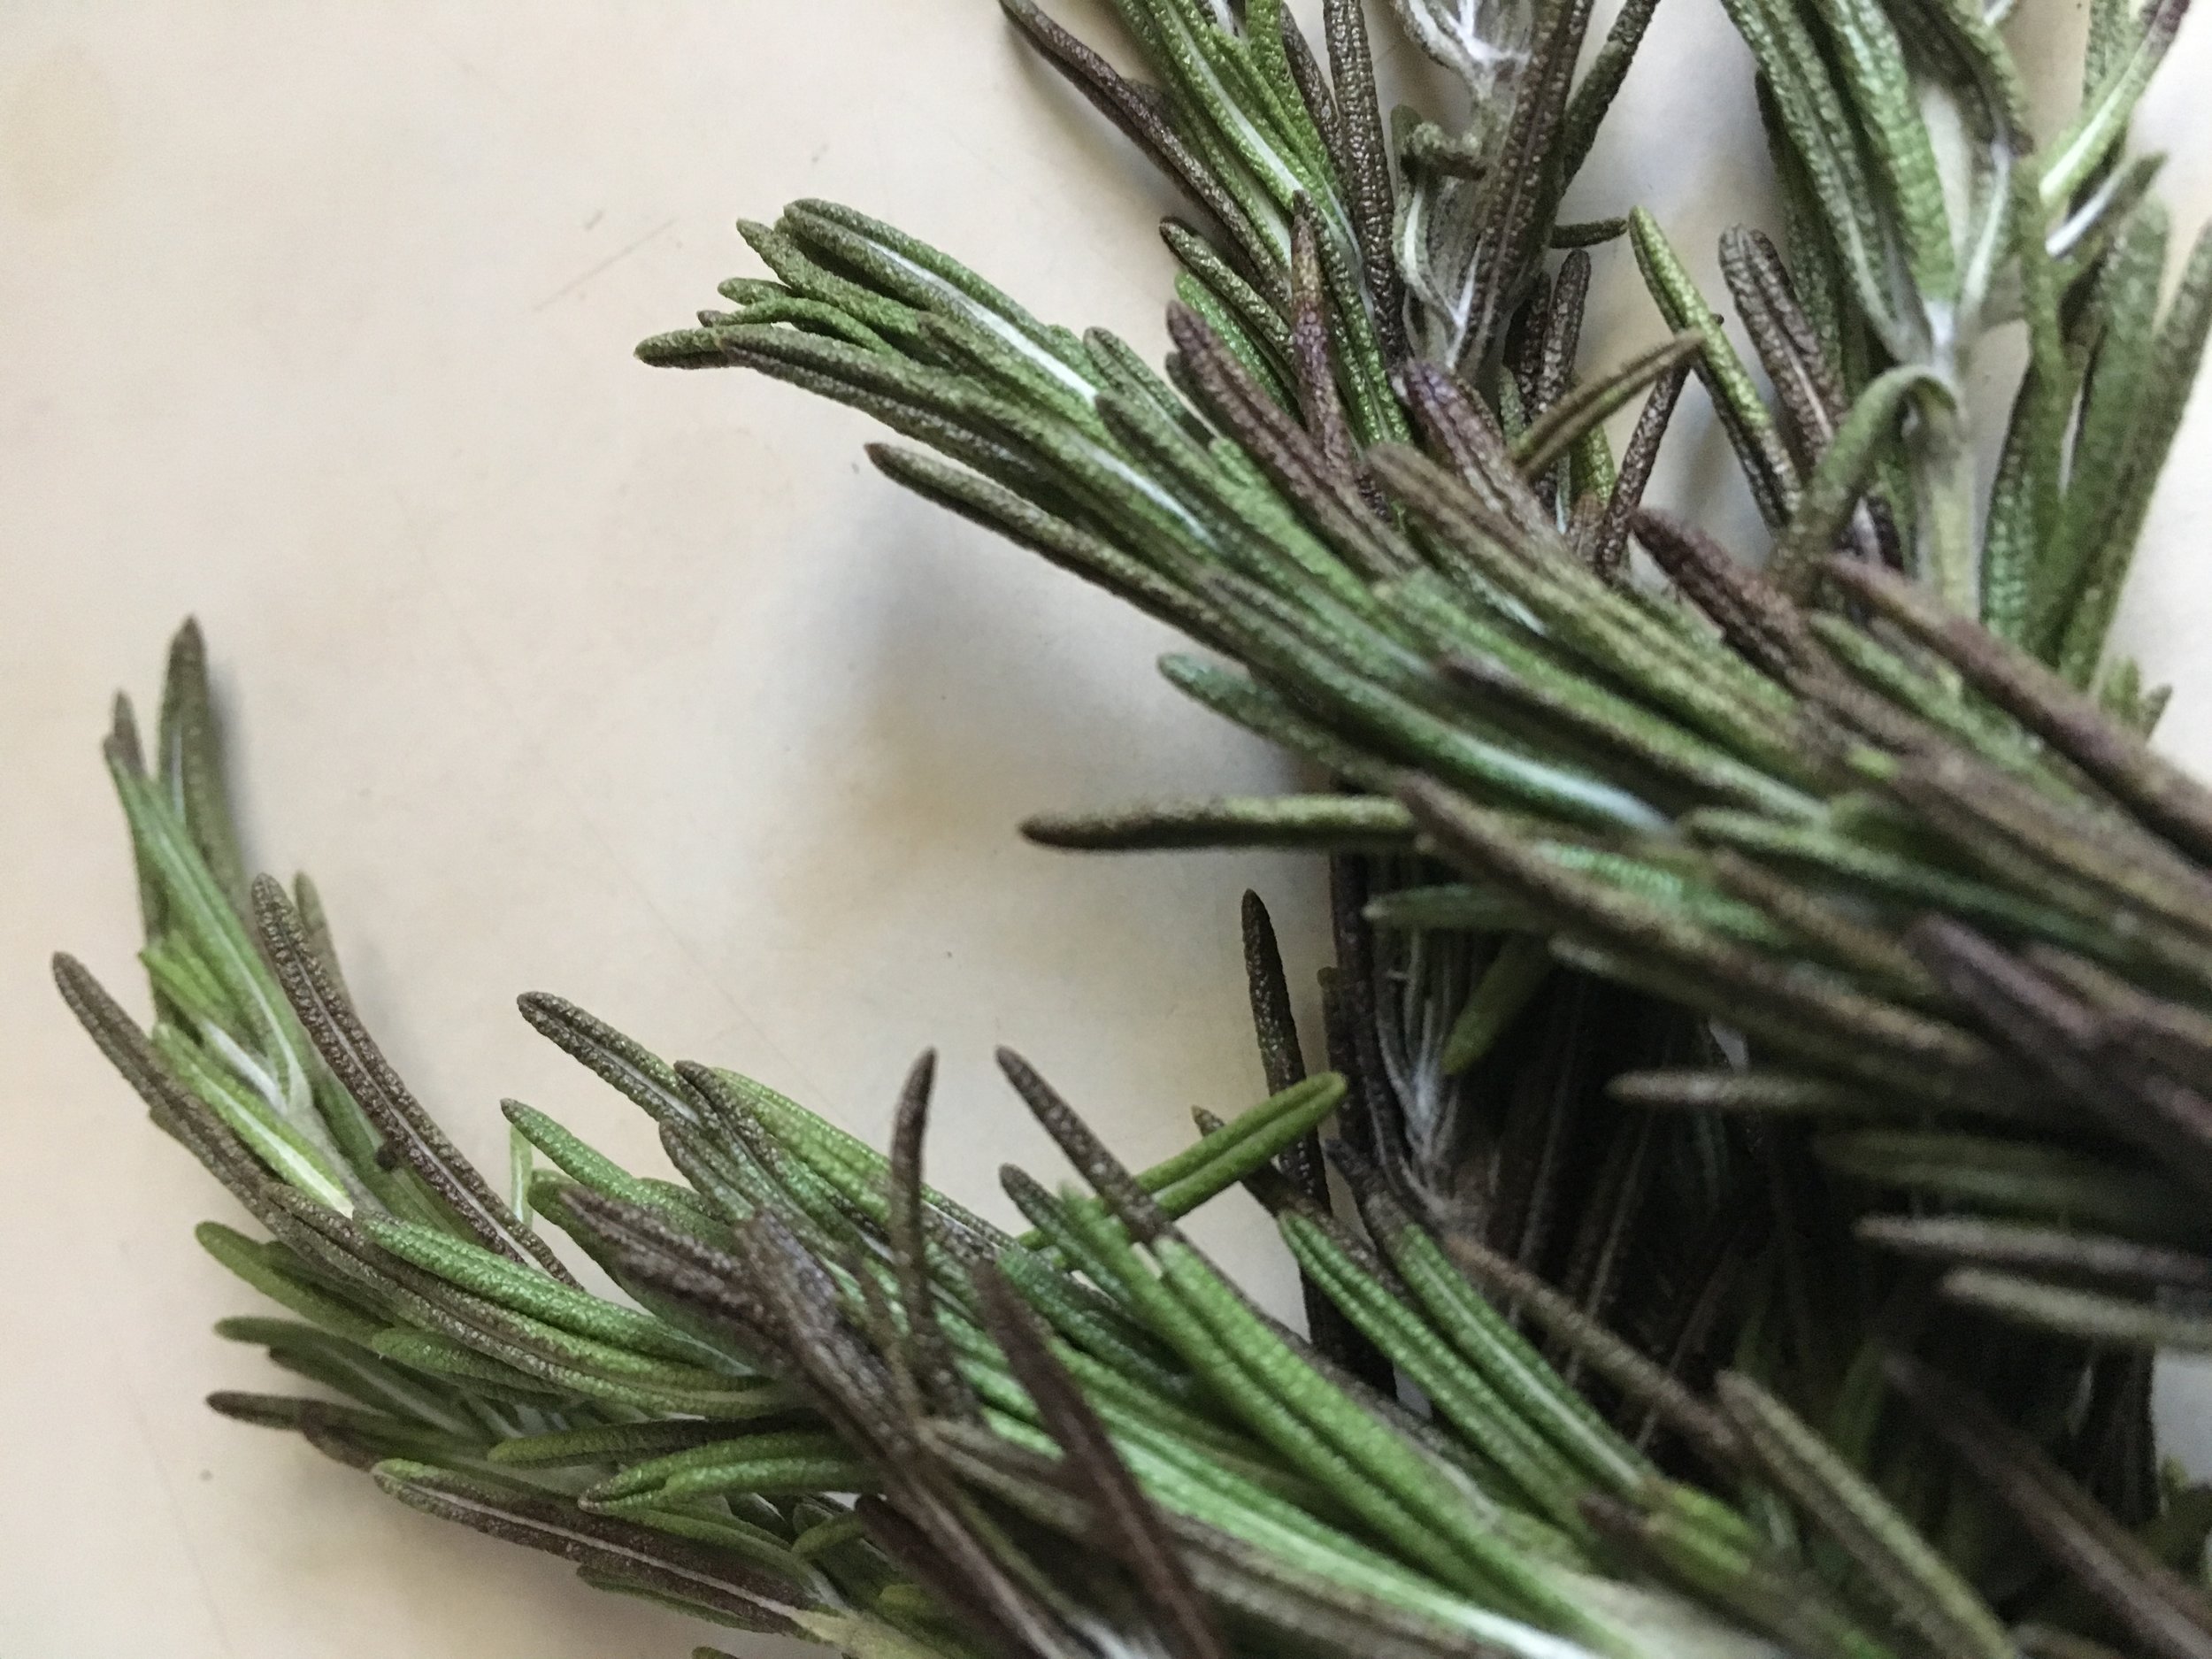
You can add anything you like to the dough. At various times I’ve added raisins, craisins, grated cheeses, roasted garlic, and various fresh herbs - not all together, of course! It’s fairly foolproof and fun to experiment with different flavors!
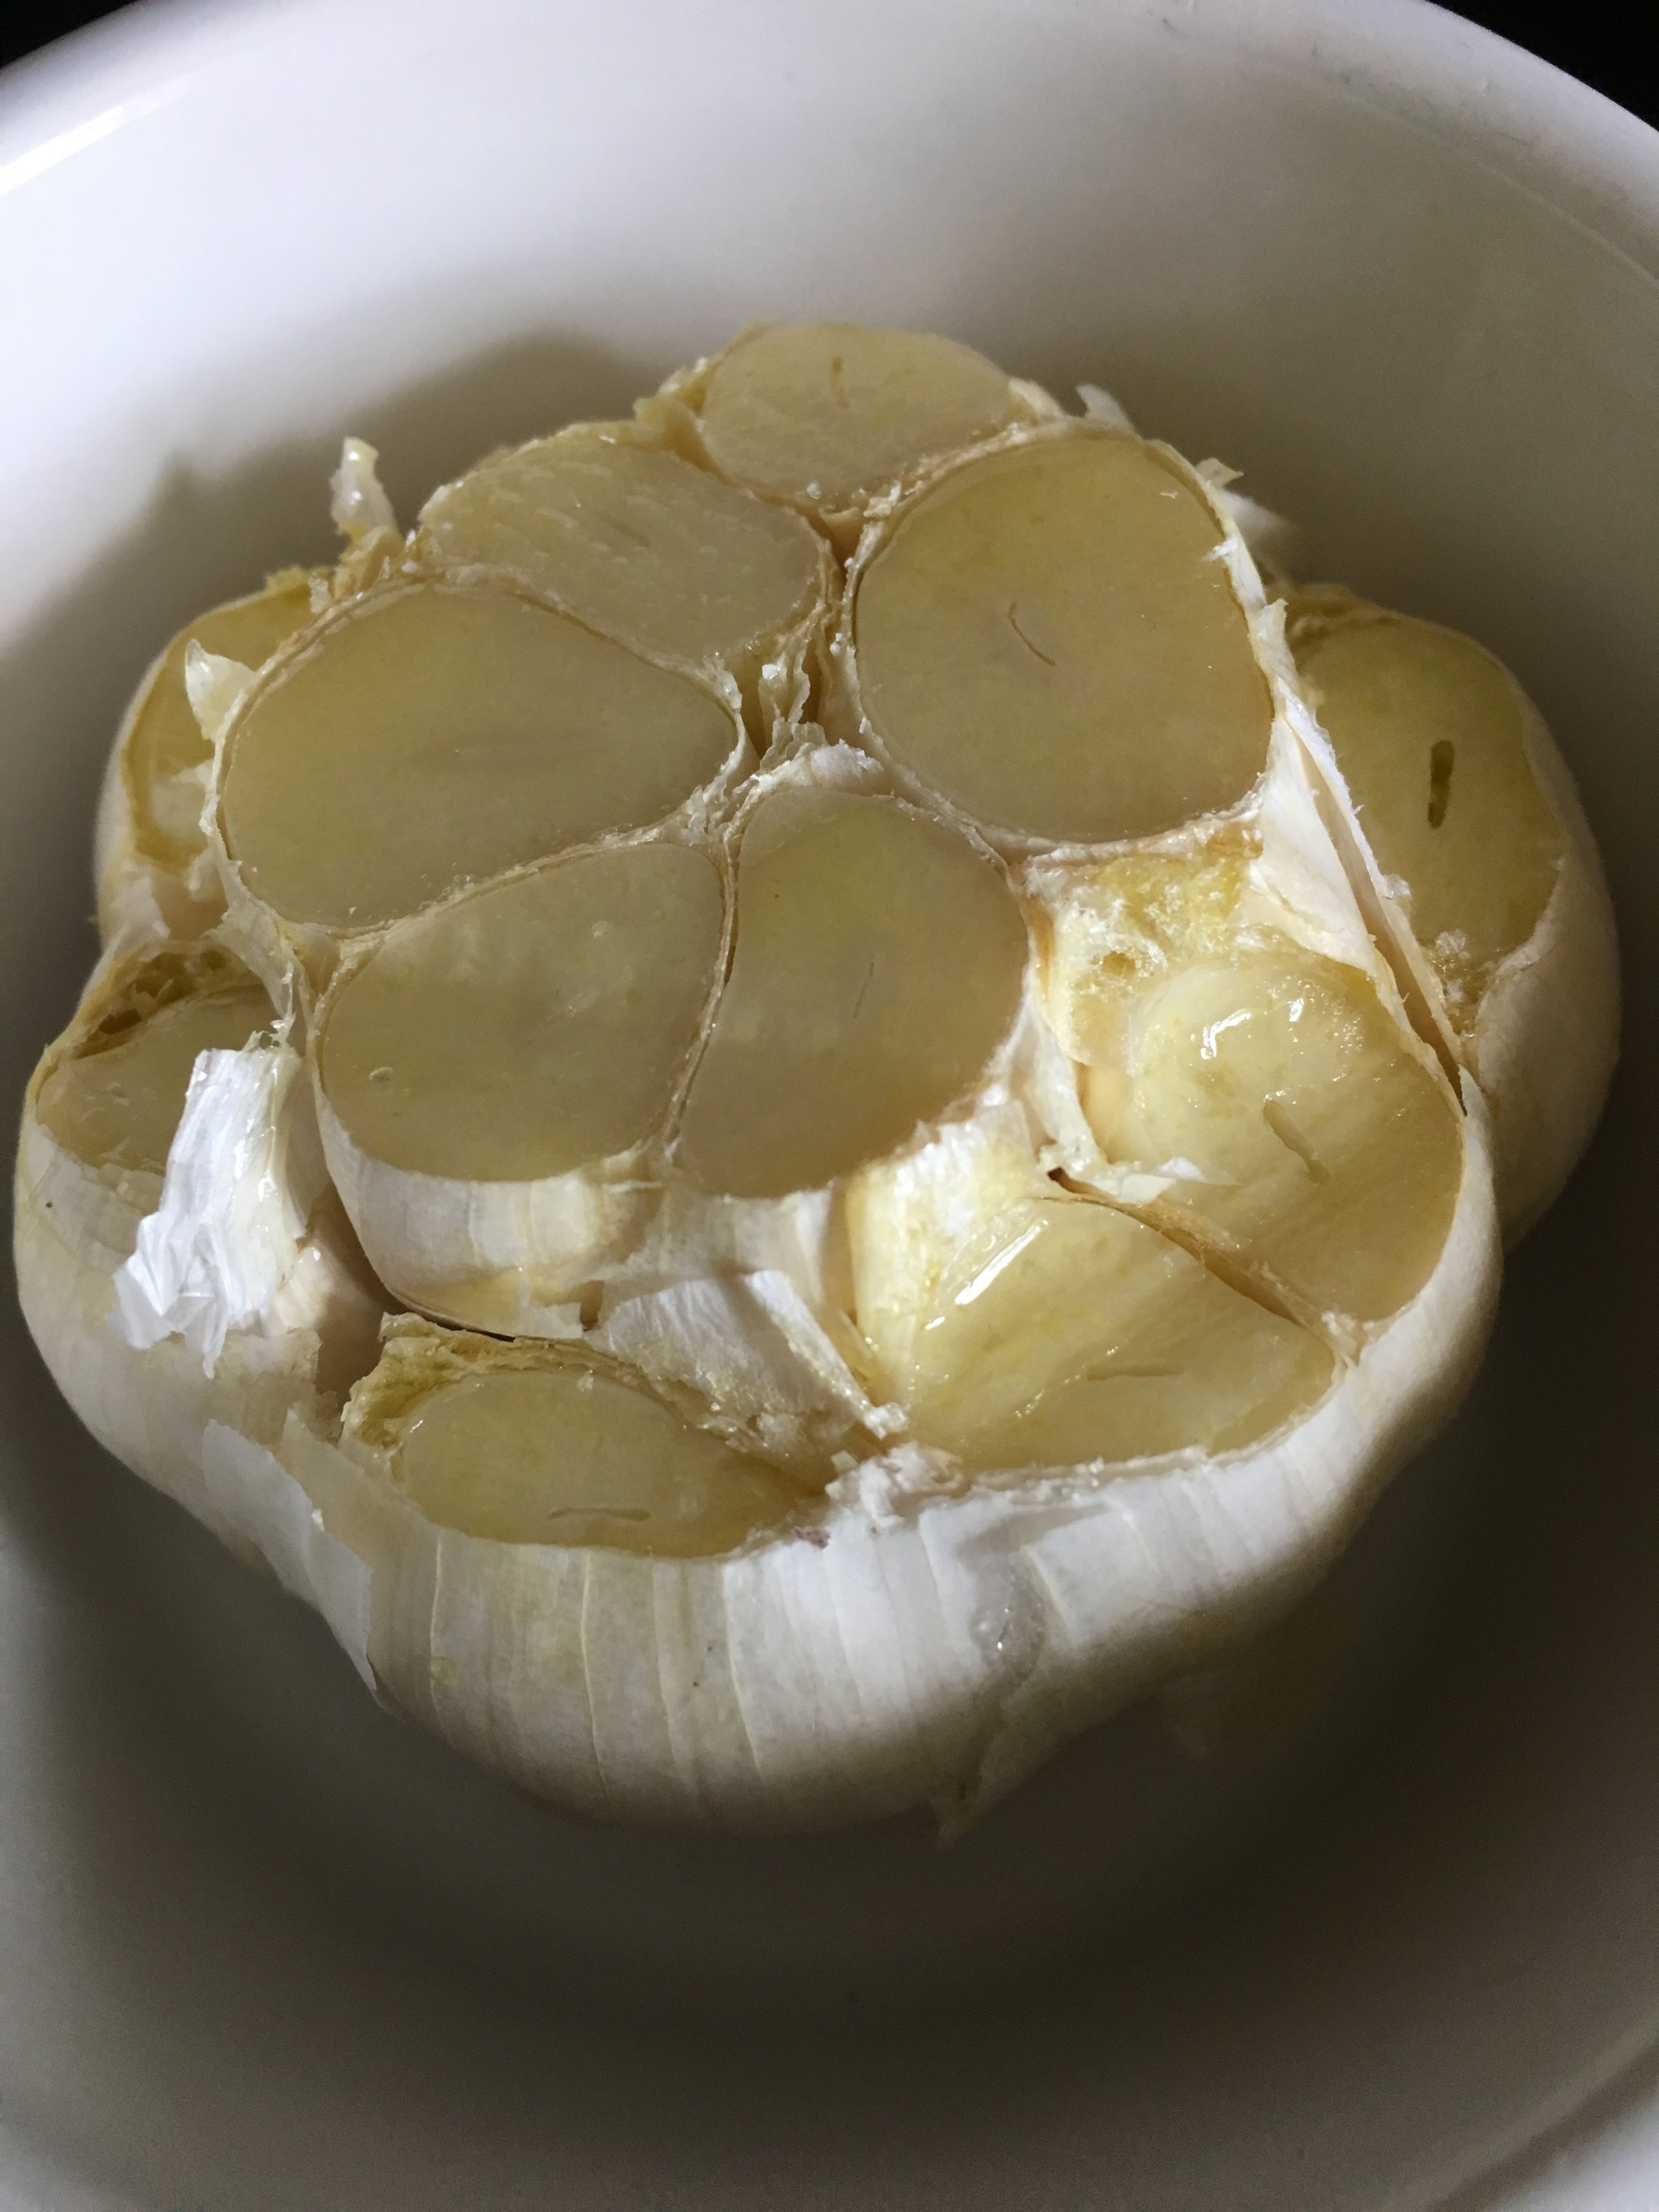
My favorite addition is rosemary and roasted garlic.
Roasted Garlic Directions
Preheat oven to 400º
Slice the tips off the cloves of a whole head of unpeeled garlic,
Place in a small baking dish (I just use a ramekin) and drizzle the exposed cloves with olive oil.
Roast for around 40 minutes, until the garlic is browned and soft.
Remove from oven and let cool a bit.
The garlic cloves will be sweet and squishy and you can just squeeze them out of the skin and add them to the dough mixture along with some chopped fresh rosemary! (Roasted garlic also makes a delightful spread for bread)
Let rise and bake as per the directions and enjoy!
This is a wonderful accompaniment to Italian food, or as a base for a delicious grilled cheese sandwich, or just eat it hot out of the oven as a snack with some good olive oil or premium salted butter. Yummm…
Try is alongside our:
Hearty and Healthy Vegetable Soup