
I love wrapping gifts, but the joy goes out of it when I’m trying to do them all at once in a hurry right before they get ripped open! I would much prefer to have beautifully wrapped packages piled artfully around the Christmas tree a bit in advance to enjoy.
I always have good intentions to shop for Christmas gifts early and wrap them as they are purchased. That would indeed be lovely and has happened maybe once or twice in my life.
Nearly every year, the holidays kind of sneak up on me while I’m madly attending to the rest of life. But I’m determined to make them beautiful no matter when I get to them.
If you are wrapping gifts anyway, it is just as easy (and far more rewarding) to make them beautiful. And presentation is part of the gift, as far as I’m concerned. It communicates care and love for the recipient to pay attention to the packaging as well as the gift.
Here are some tips for pretty packages.
Coordinate your wrapping paper to your holiday decor.
No matter what style of holiday decorating you do, there is ALWAYS something for wrapping paper that will look good with it - it may not necessarily be holiday paper. Solid colors or unusual combinations can be striking paired with pretty ribbons or embellishments, and often times are useful for occasions beyond the winter holidays.

We did 7 themed trees once upon a time for a holiday installation - here are some of the gift wrap choices I would make: For the peacock glam tree, I’d use teal, aqua, and gold, for the cardinal themed tree red, gold, and ivory, for the snow angel tree royal blue, white, and silver, and for the nature tree brown plaid, ivory, and brown kraft paper! For my own tree I use silver and gold, with ivory, white and sometimes black or a soft green in the mix.
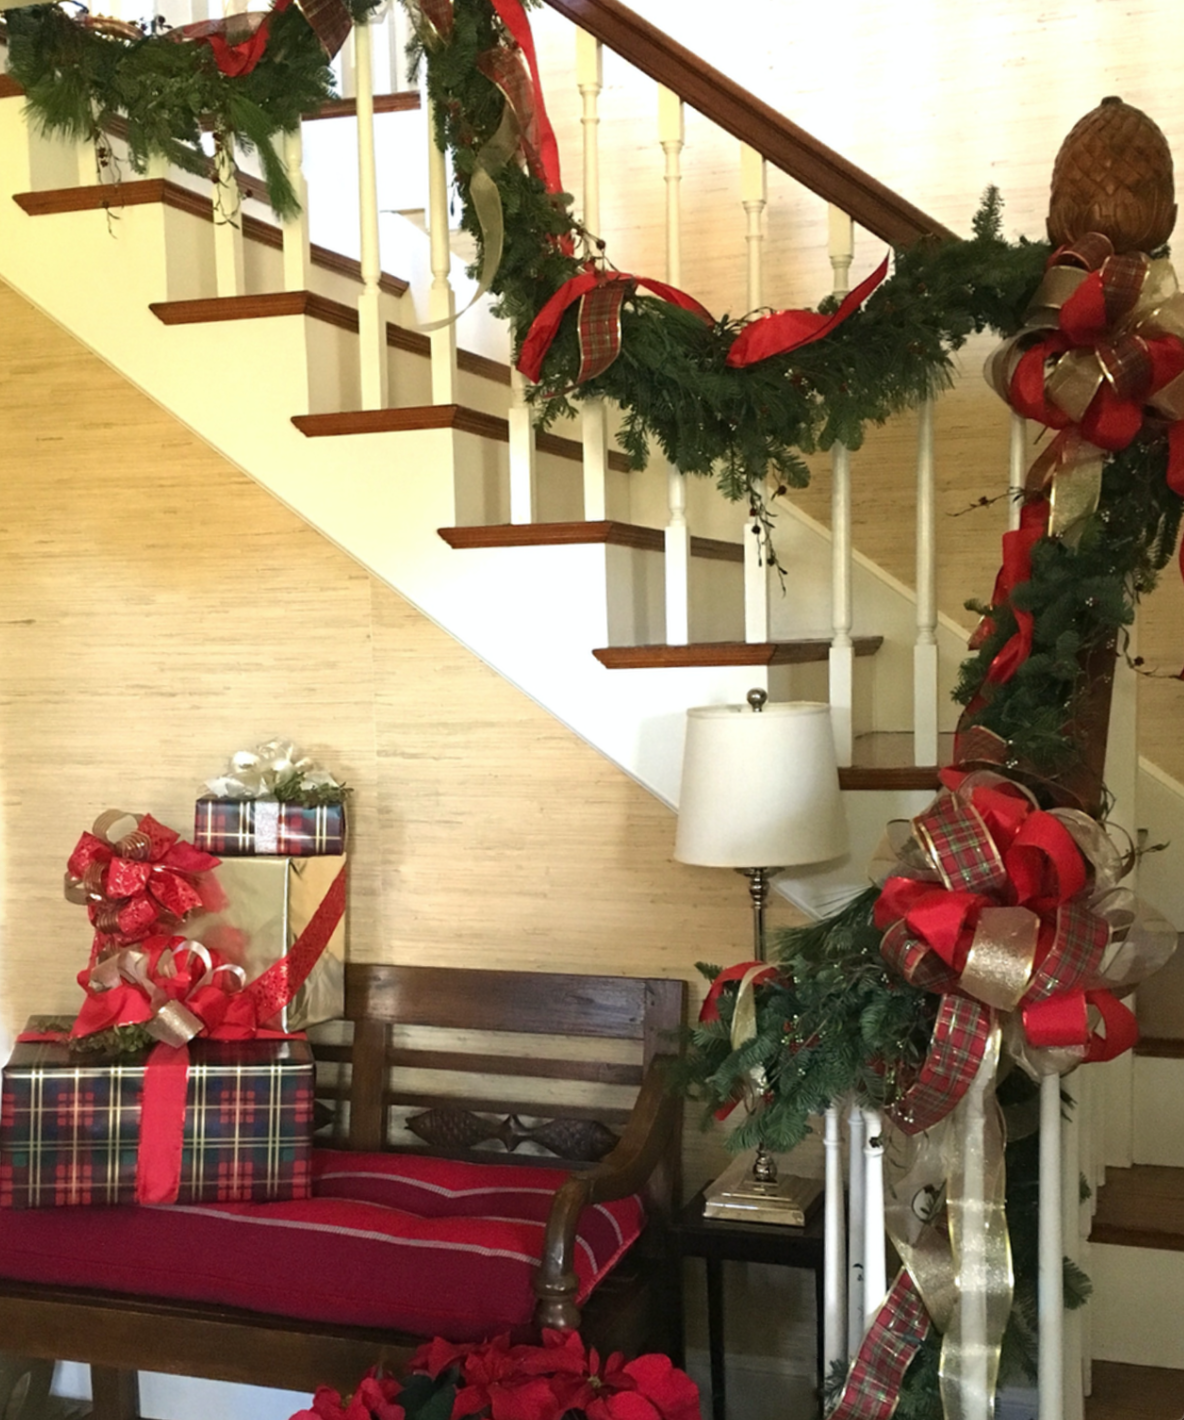
We used red plaid and gold wrapping paper to coordinate with the foyer decor for this Concord Holiday House Tour installation.
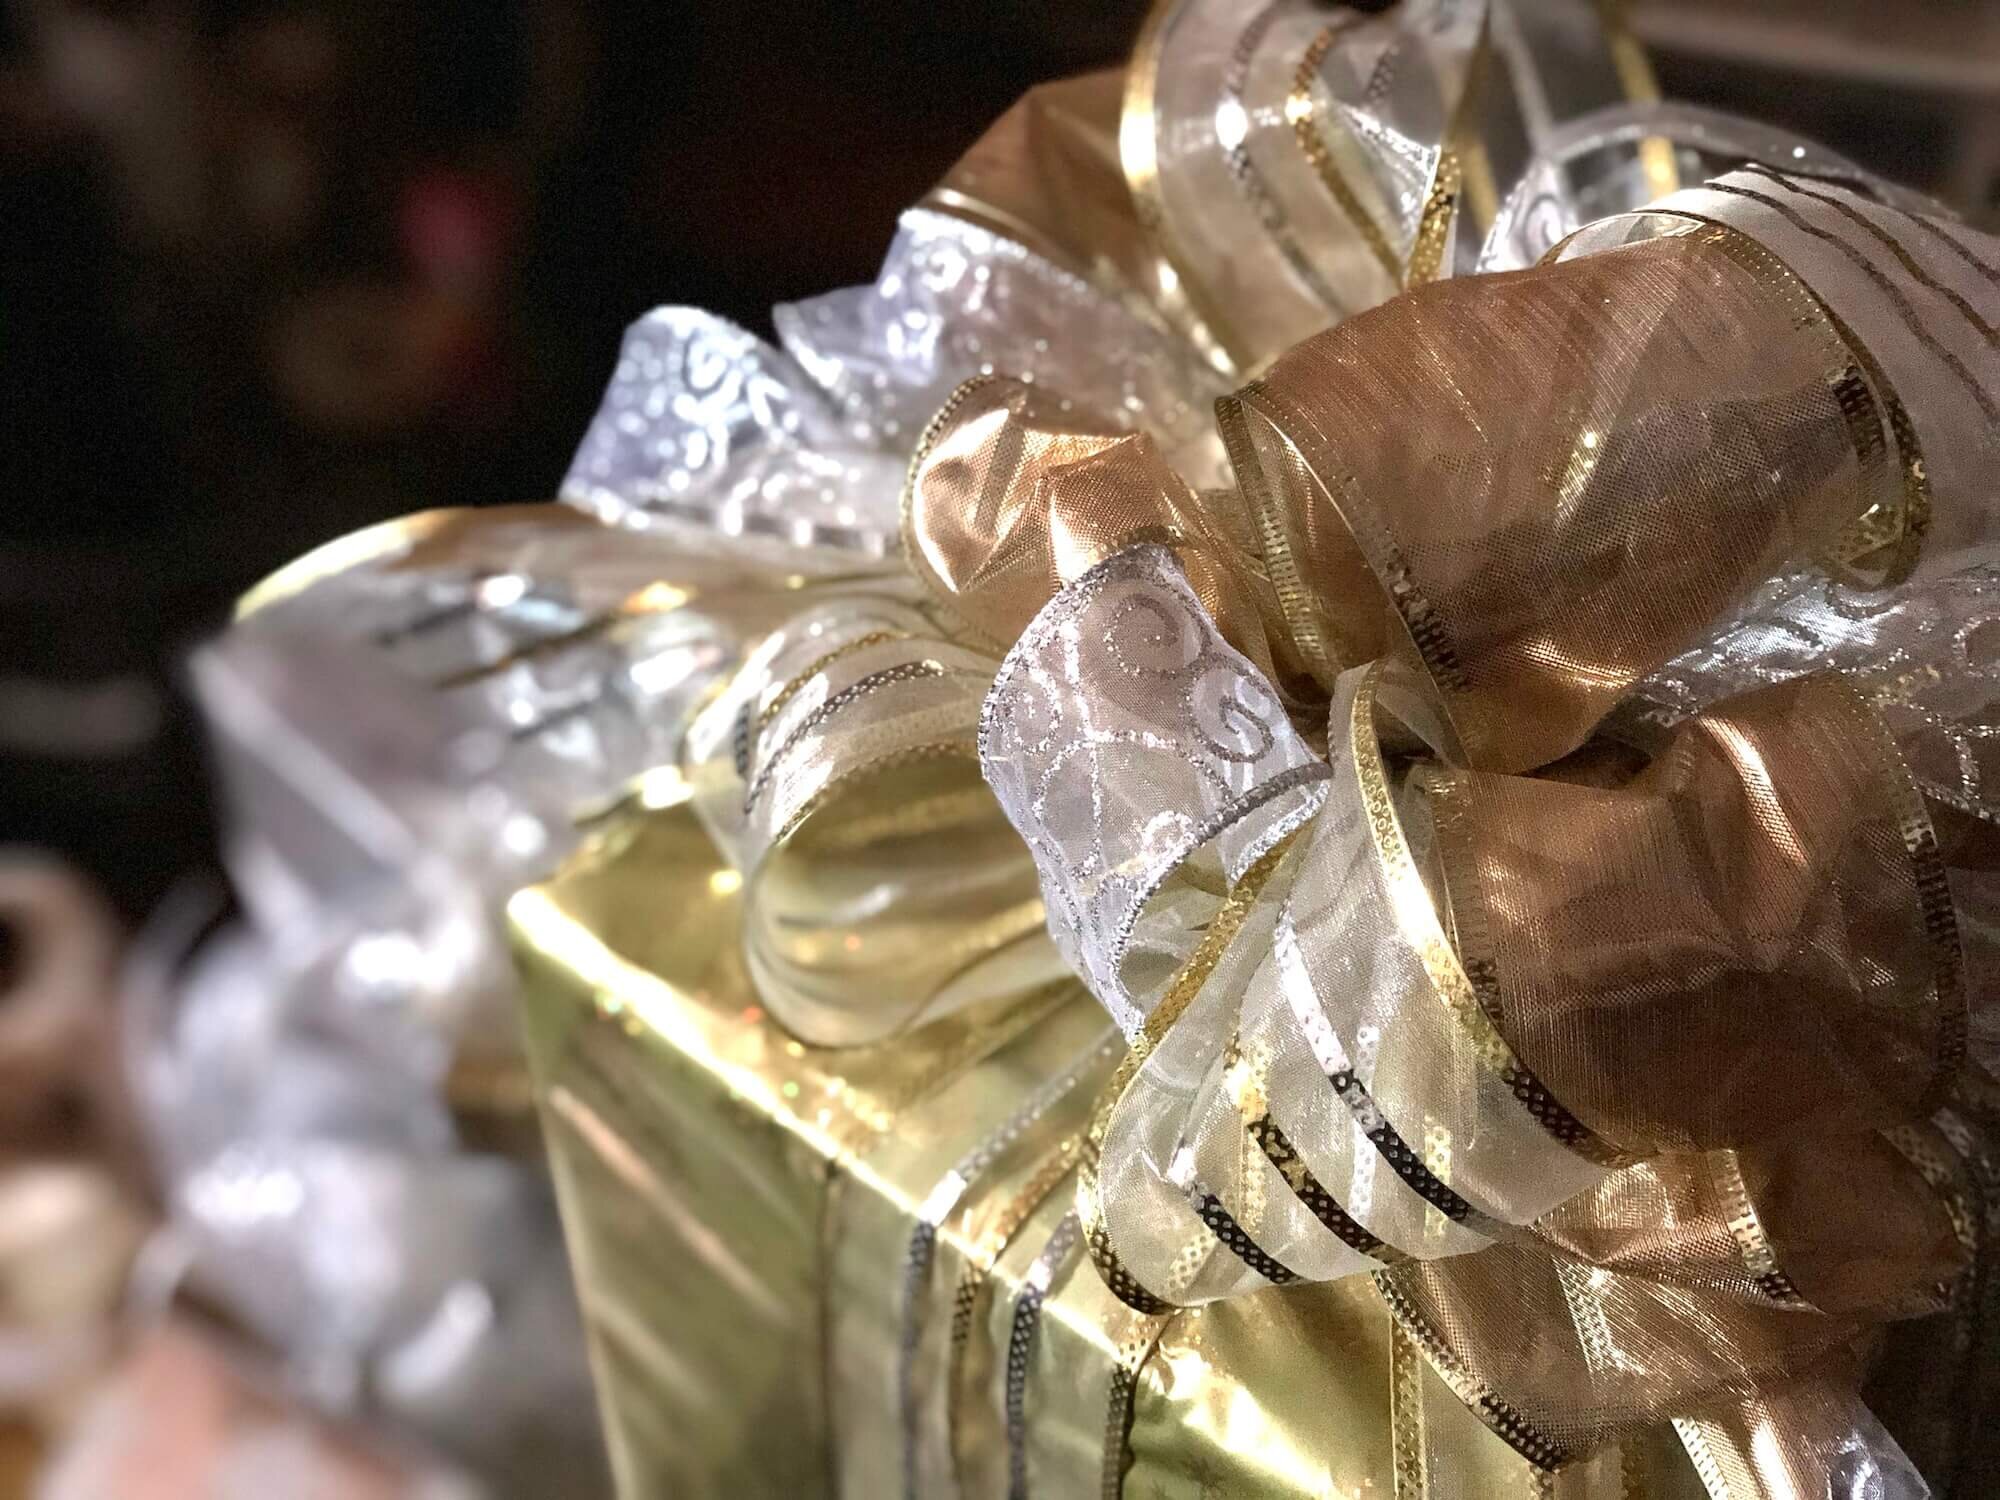
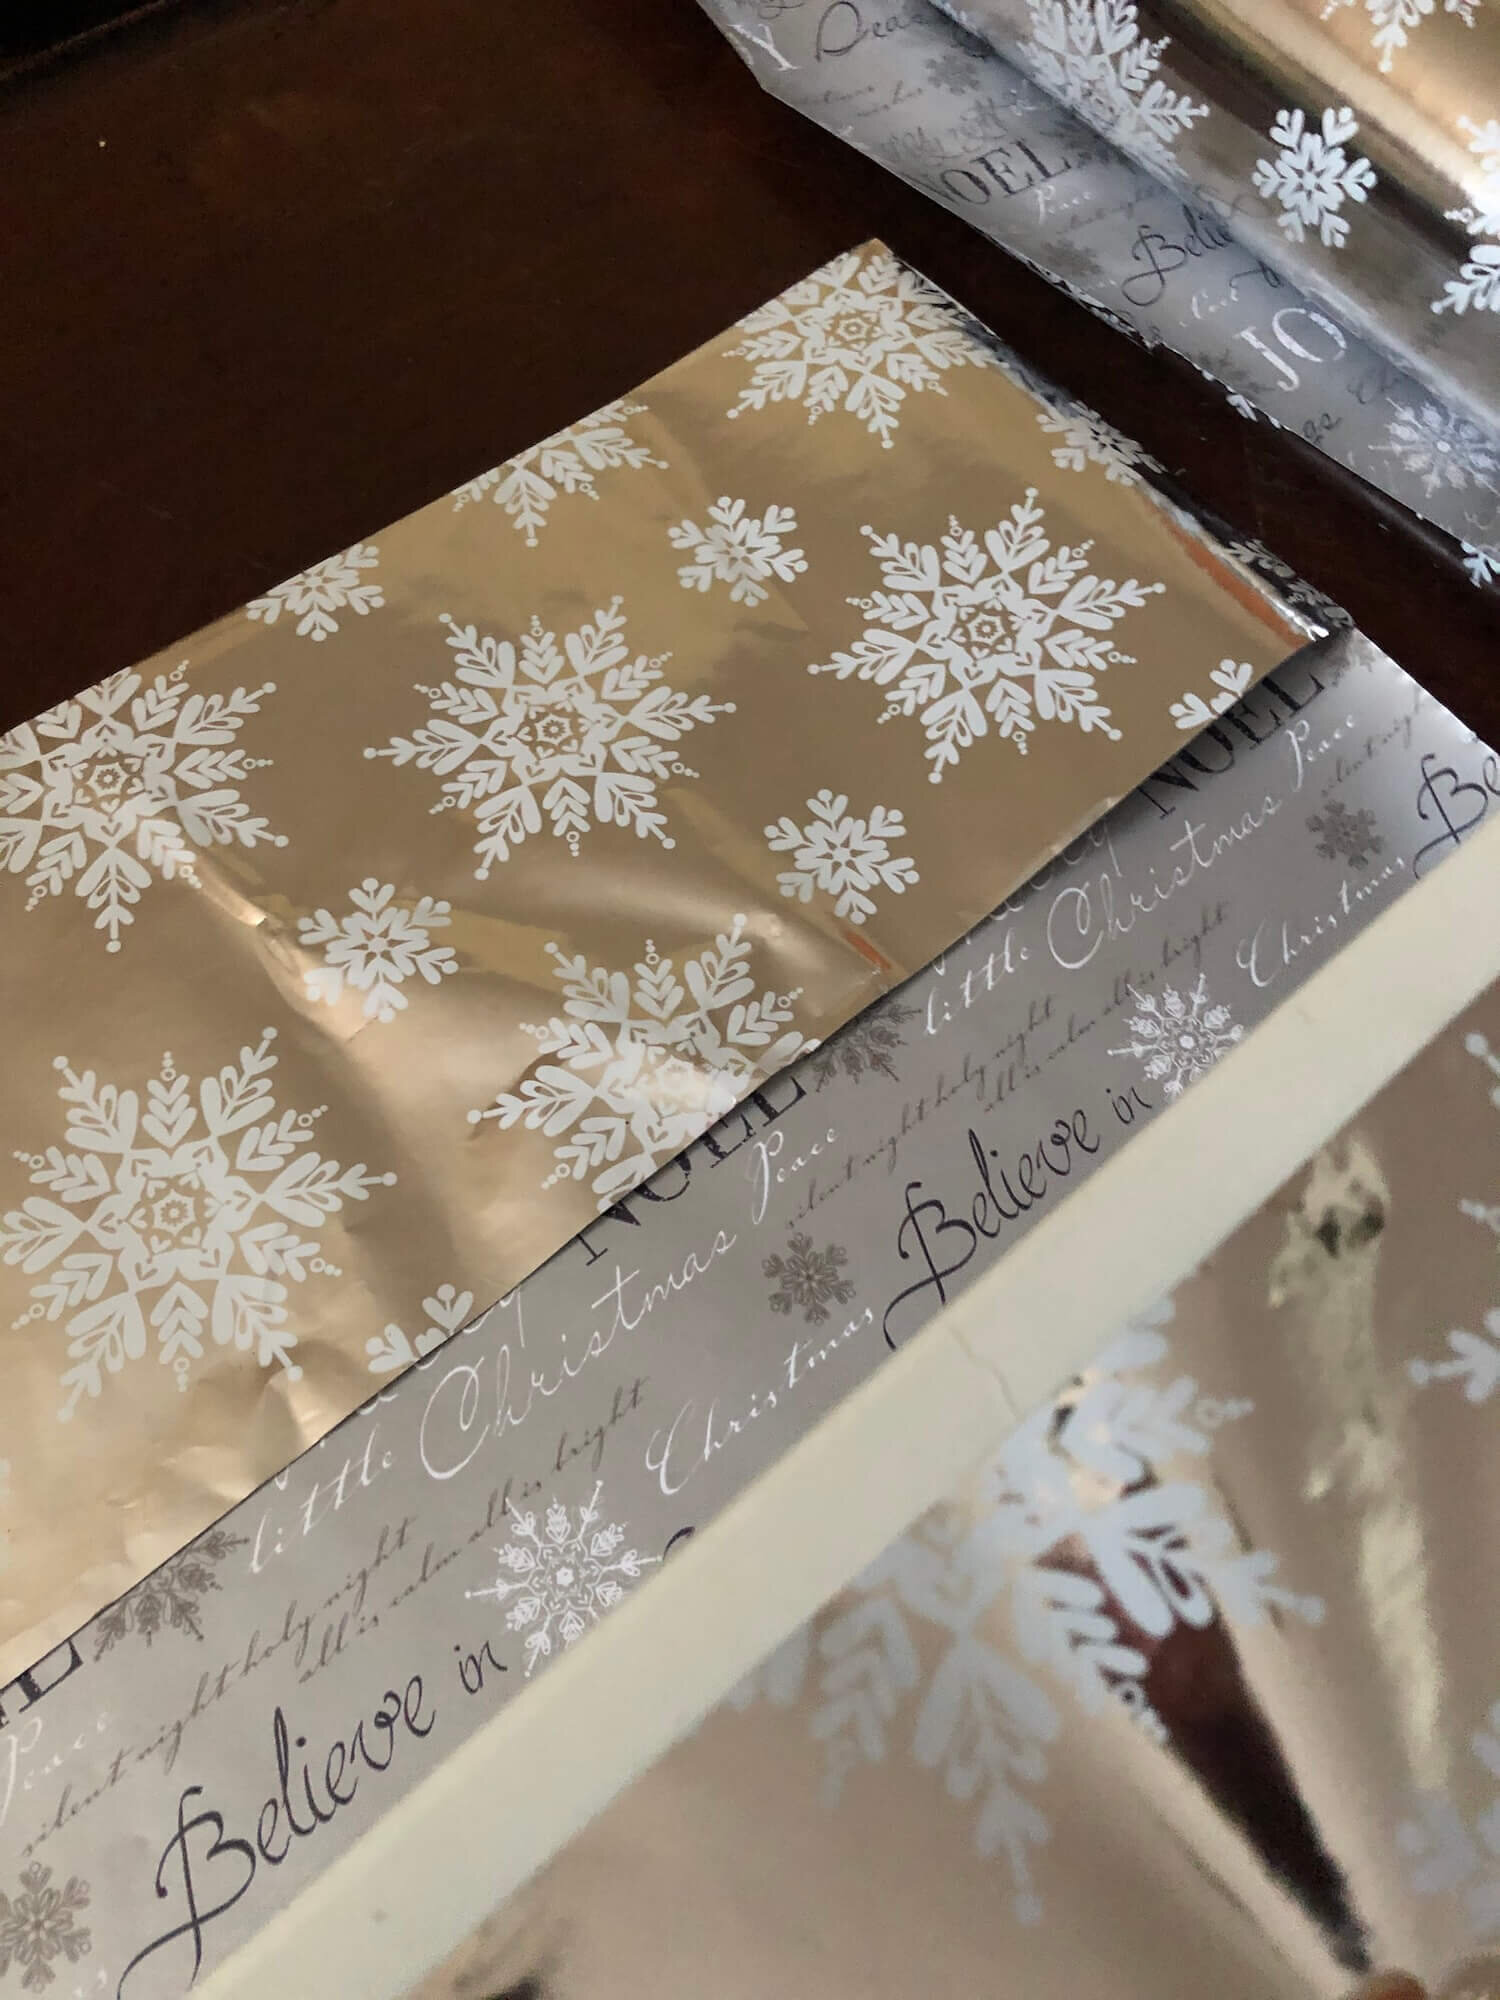
Gold and silver are great neutrals that play nicely with nearly any decor.
And here is an idea I have embraced that makes life easier: if you are wrapping multiple gifts for each person, designate one color of paper for each recipient - - you can vary the patterns, just keep the color consistent.
That way you don’t have to crawl around under the tree looking for nametags or try to remember what’s in the package and who it’s for after you have sealed it all up! (show of hands for who has had to gingerly untape a wrapped package for a peek in order to write the nametag!)
We reserve nametags for the gifts going out of the house to other people.
Vary the size and shape of the boxes.
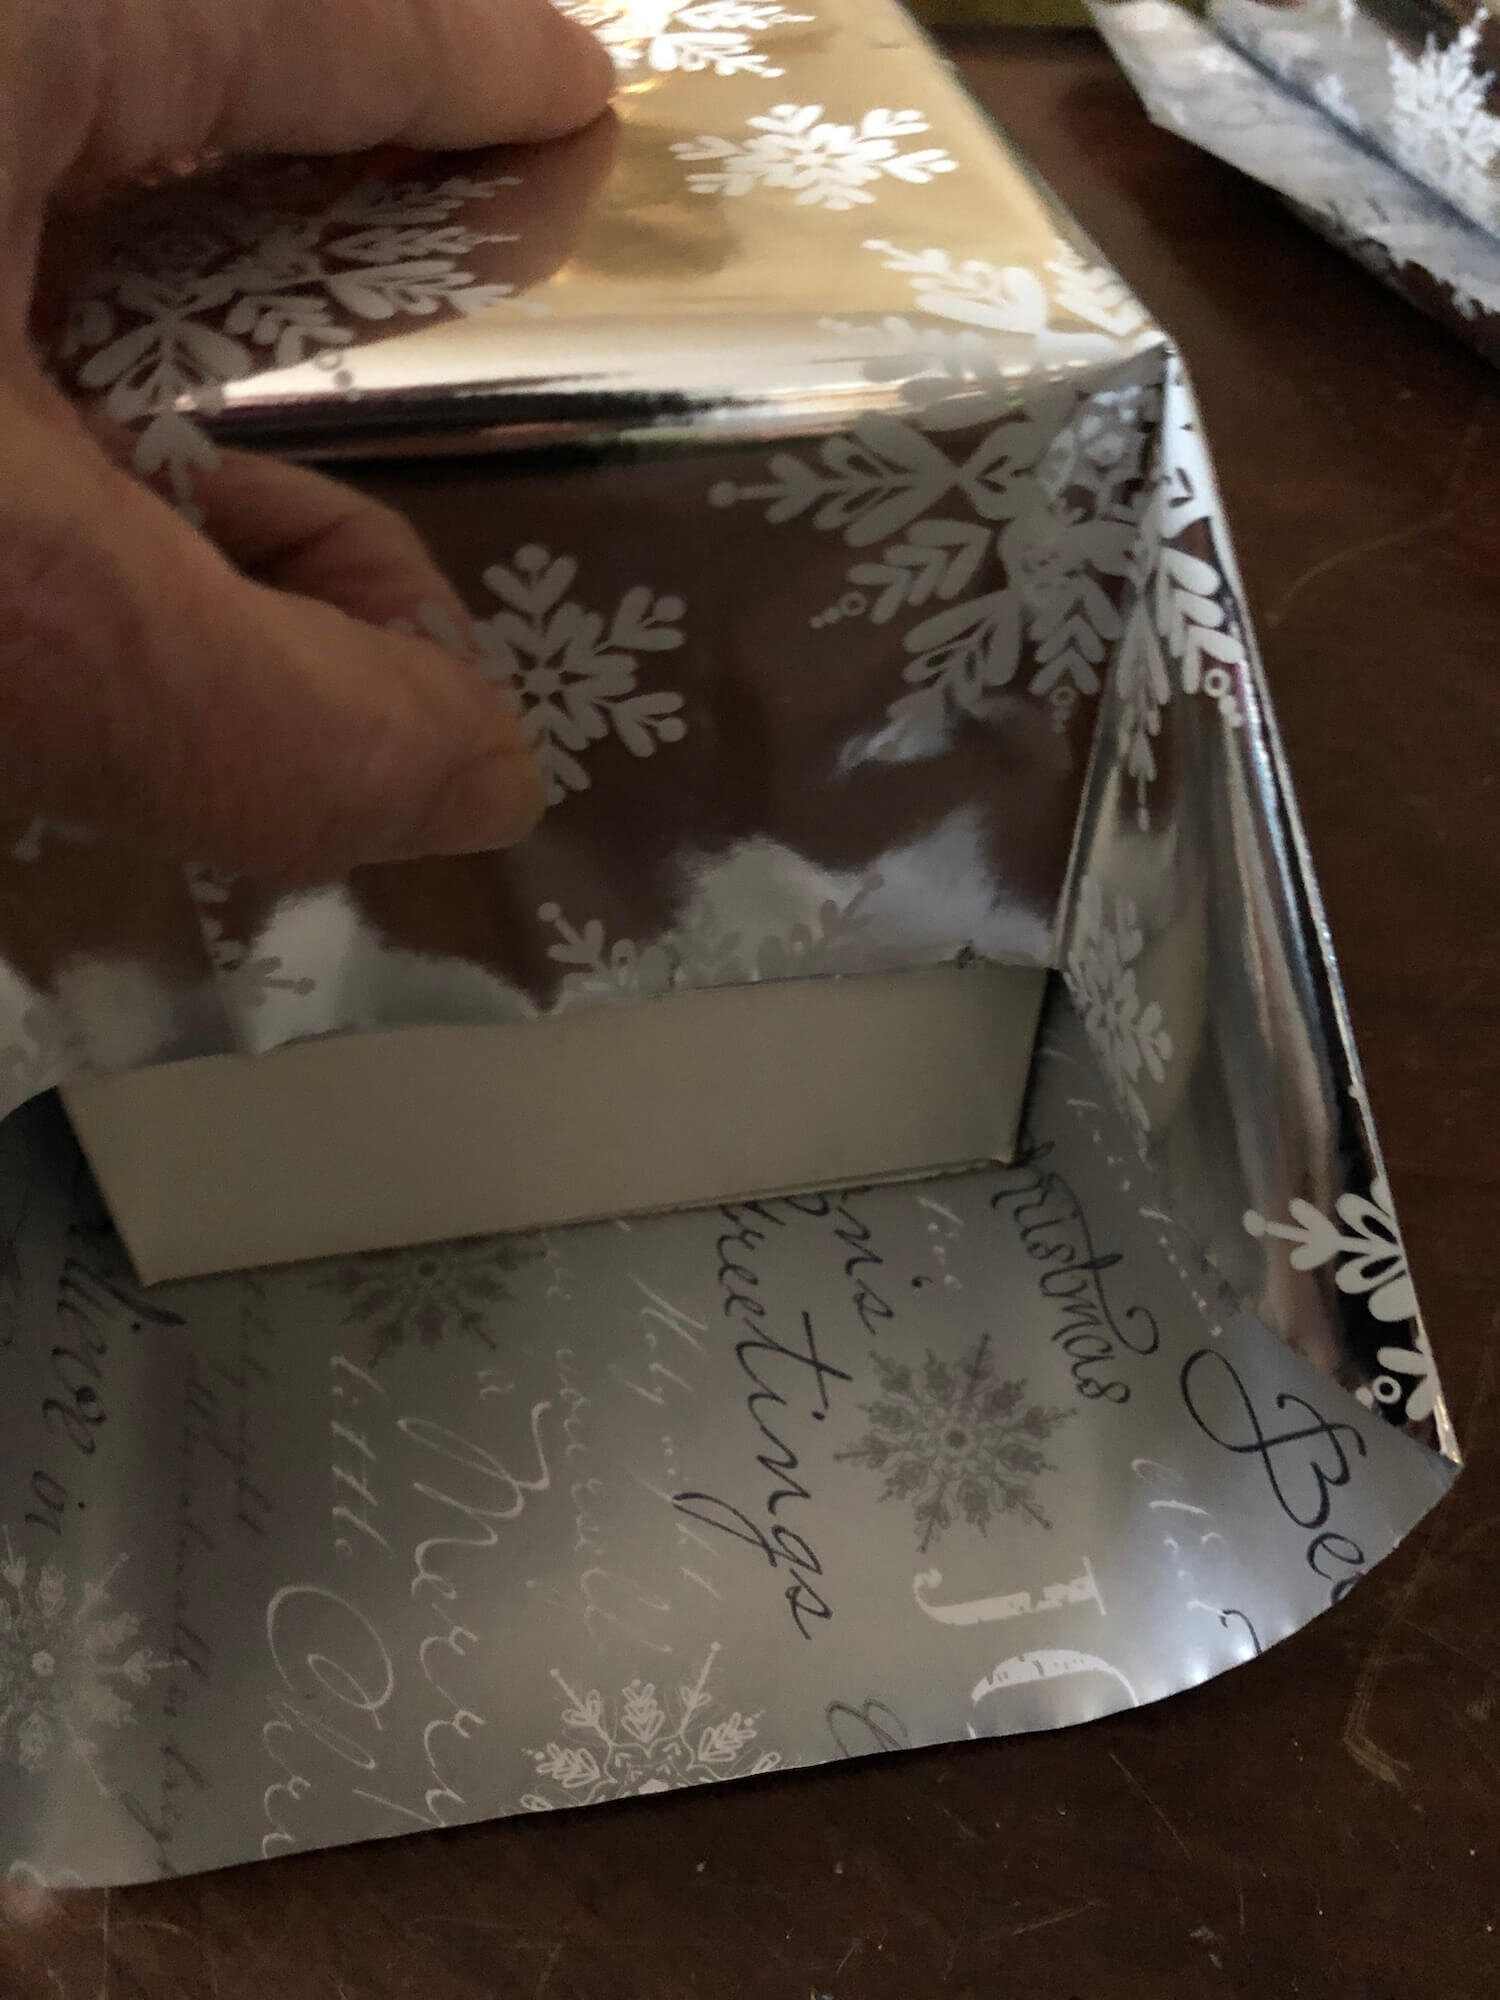
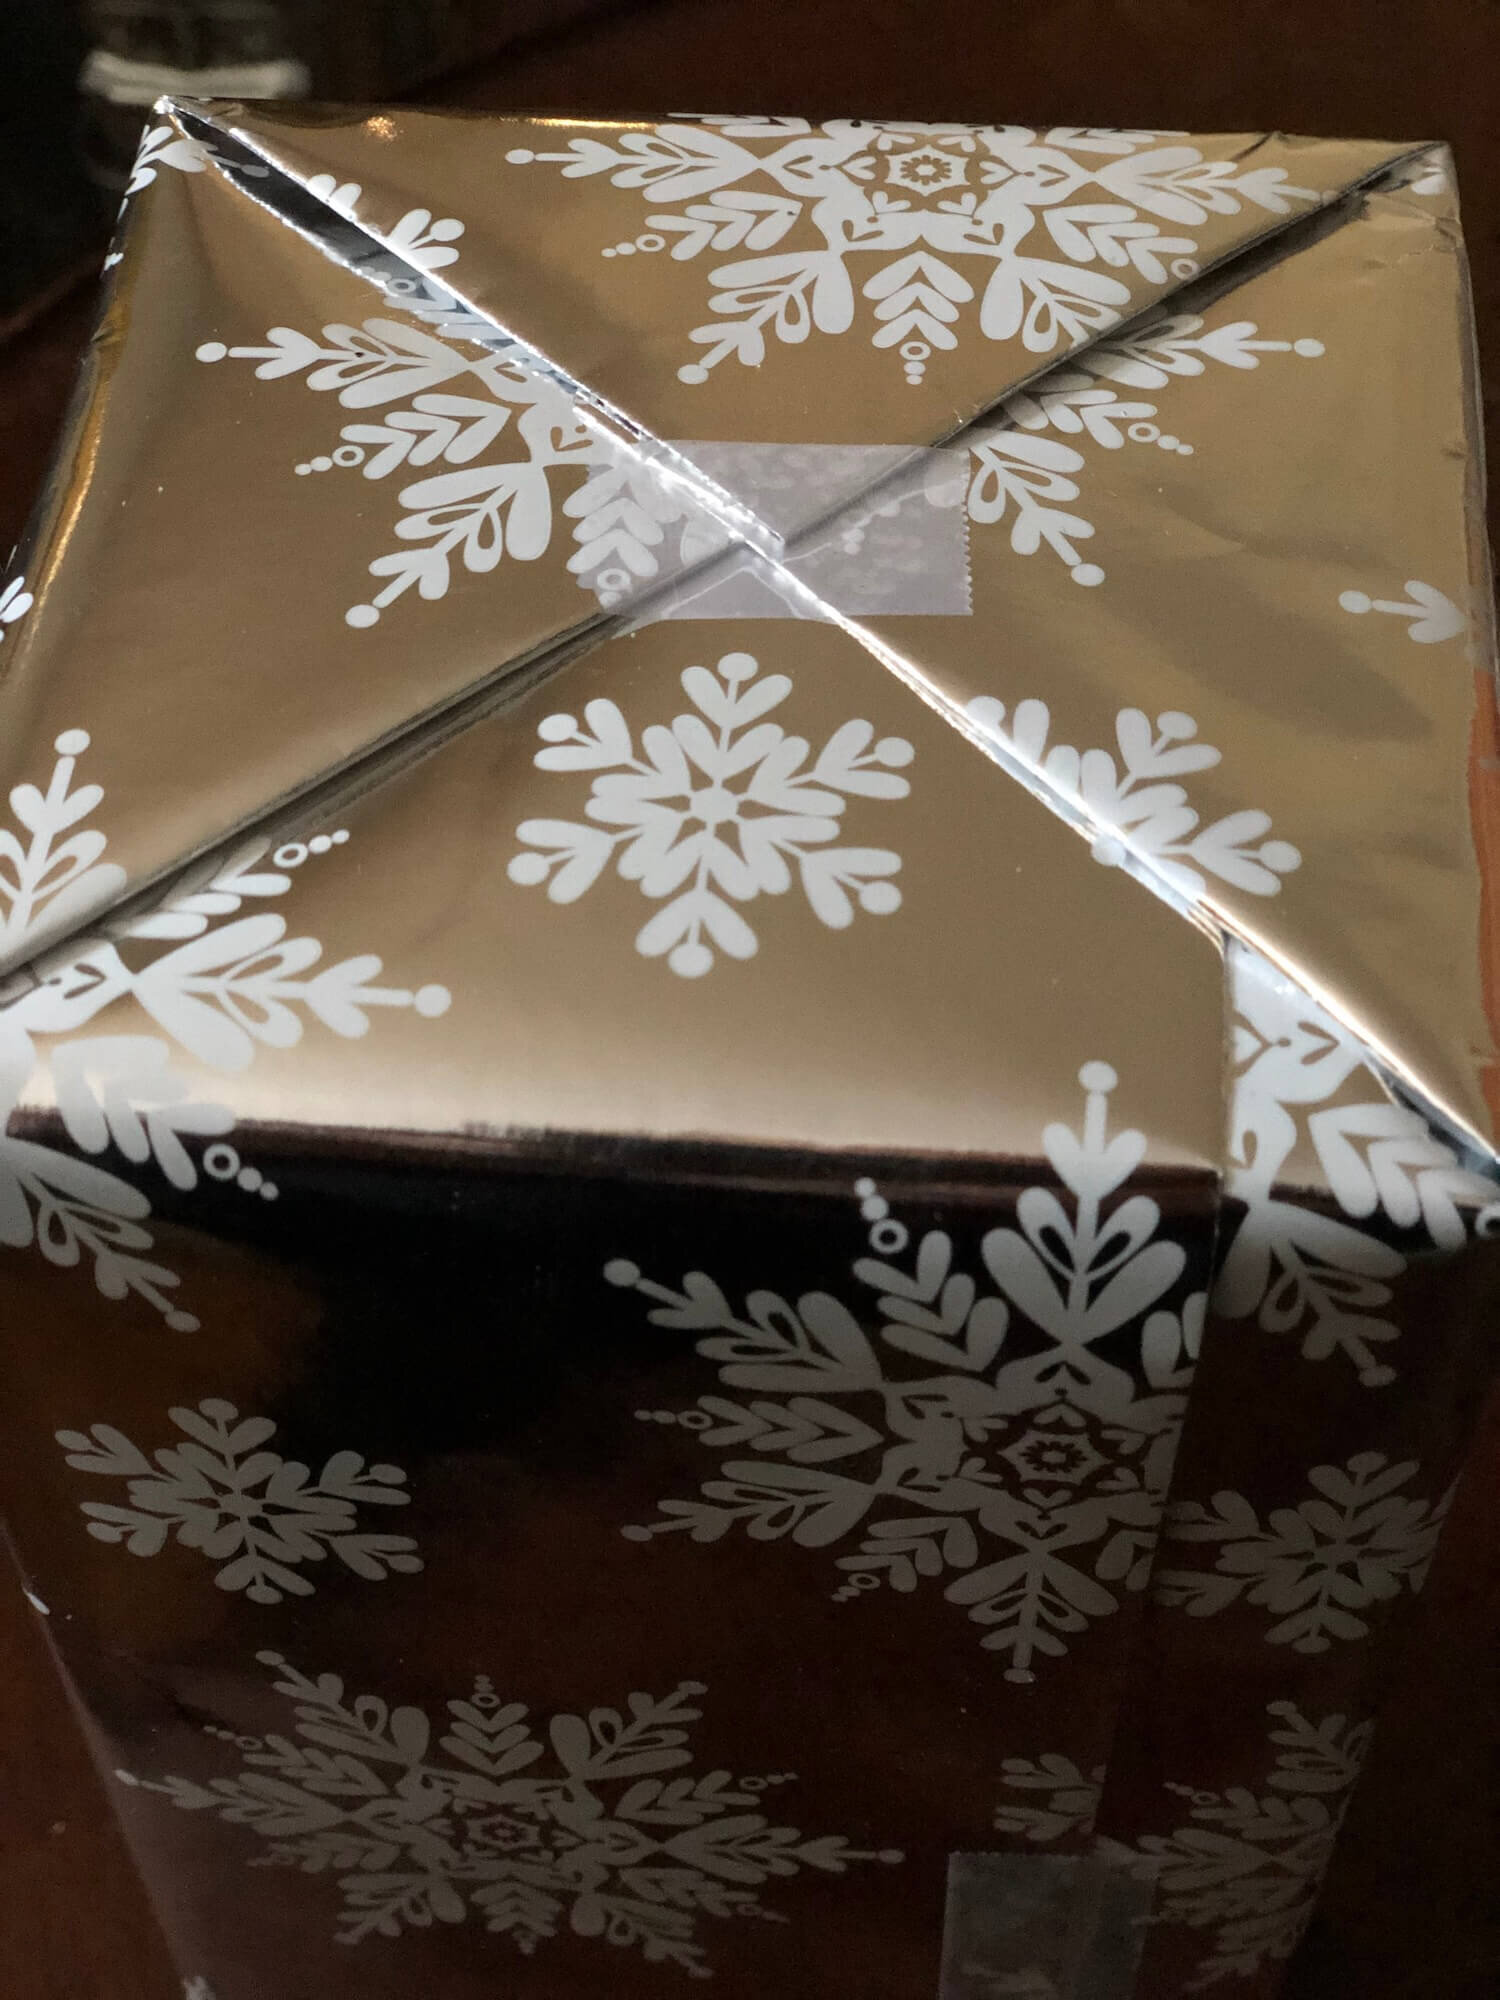
Obviously, some gifts are already boxed and that dictates the shape, but for those that are more flexible, don’t just stick them all in the same size shirt boxes. Make some squarer and chunkier for variety.

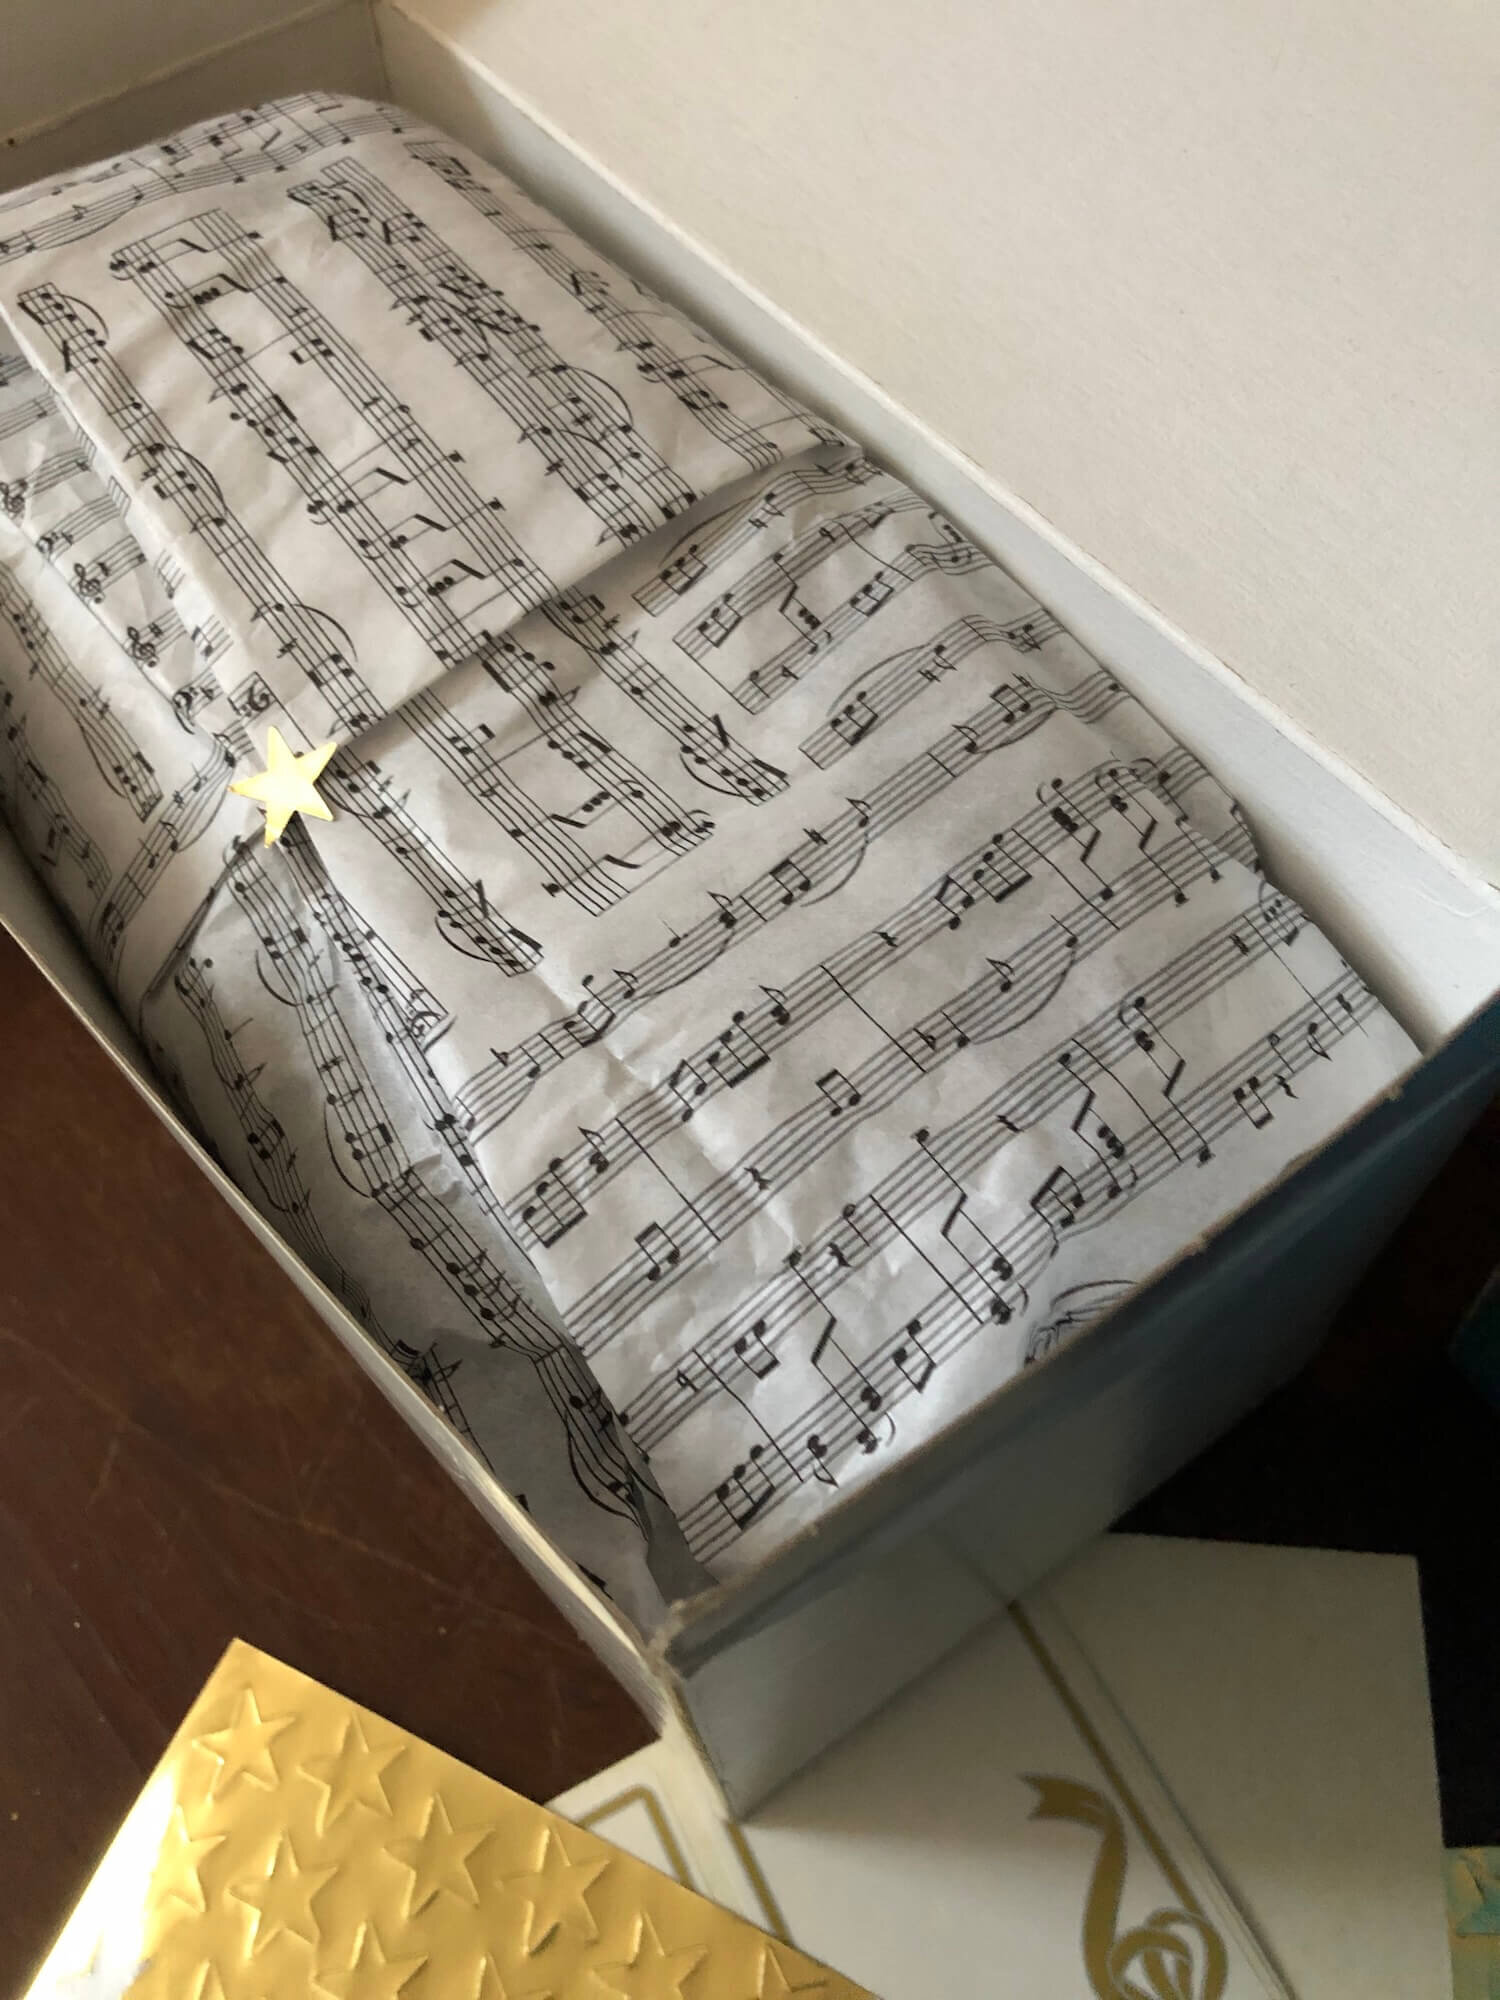

I like to add pretty tissue inside and seal it with a sticker to make unwrapping the gift a little more special.

For awkward shapes, either find a box large enough to repackage in or use a gift bag with tissue peeking out the top (if you are worried about the recipient peeking too early, you can still wrap the actual gift inside the gift bag where lumpy and awkward won’t be on display!)
I also have a few sets of coordinating decorative sturdy boxes I reuse from year to year that don’t even need wrapping - I just add the ribbons!
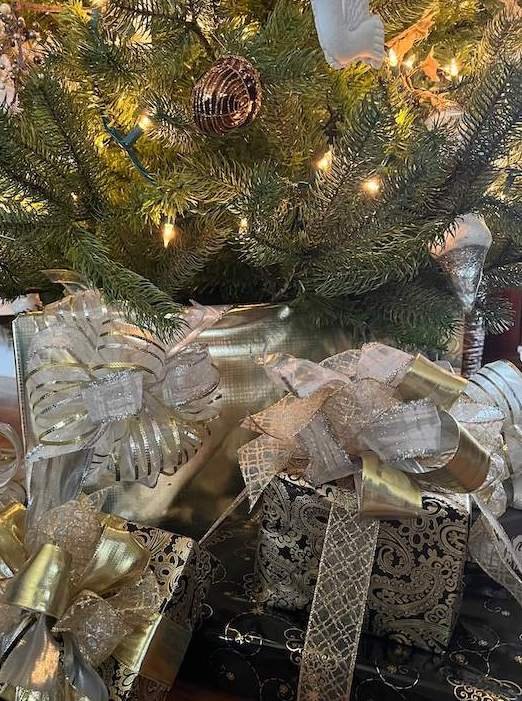
Another way to create variety of size is to stack 2 or 3 boxes with related gifts and coordinated paper together and tie them up with one ribbon and bow like a single package.

3 packages wrapped together with a single ribbon and bow
Treat each package to a pretty bow or embellishment.
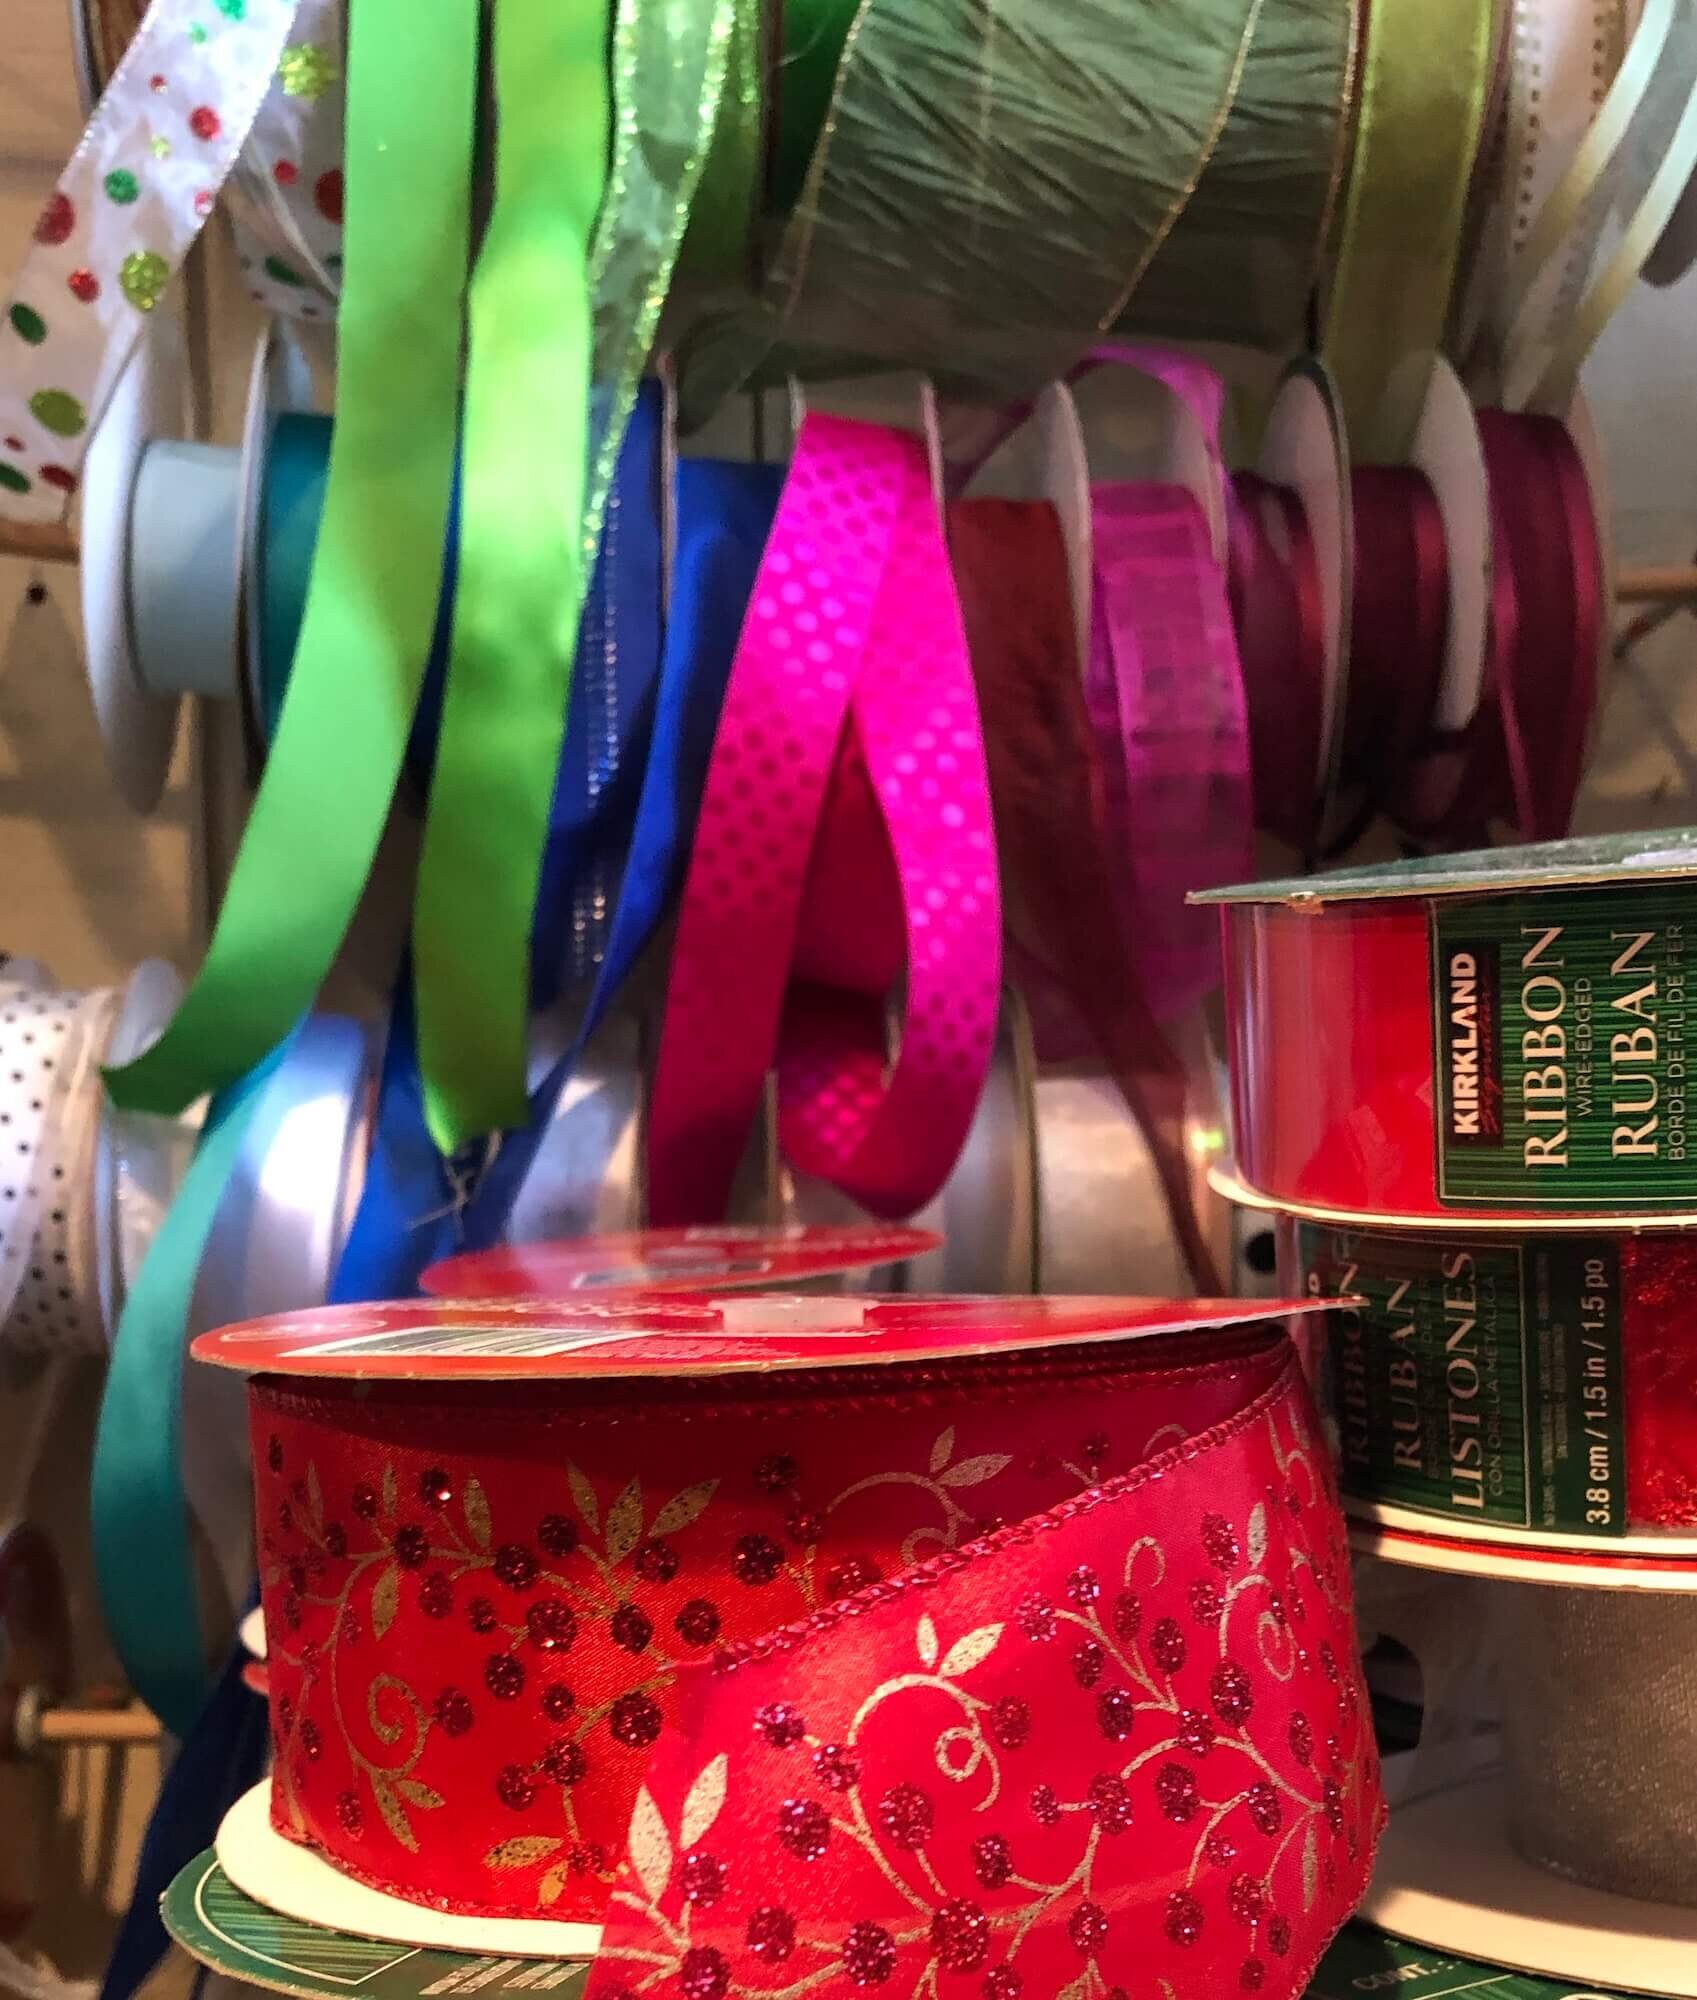
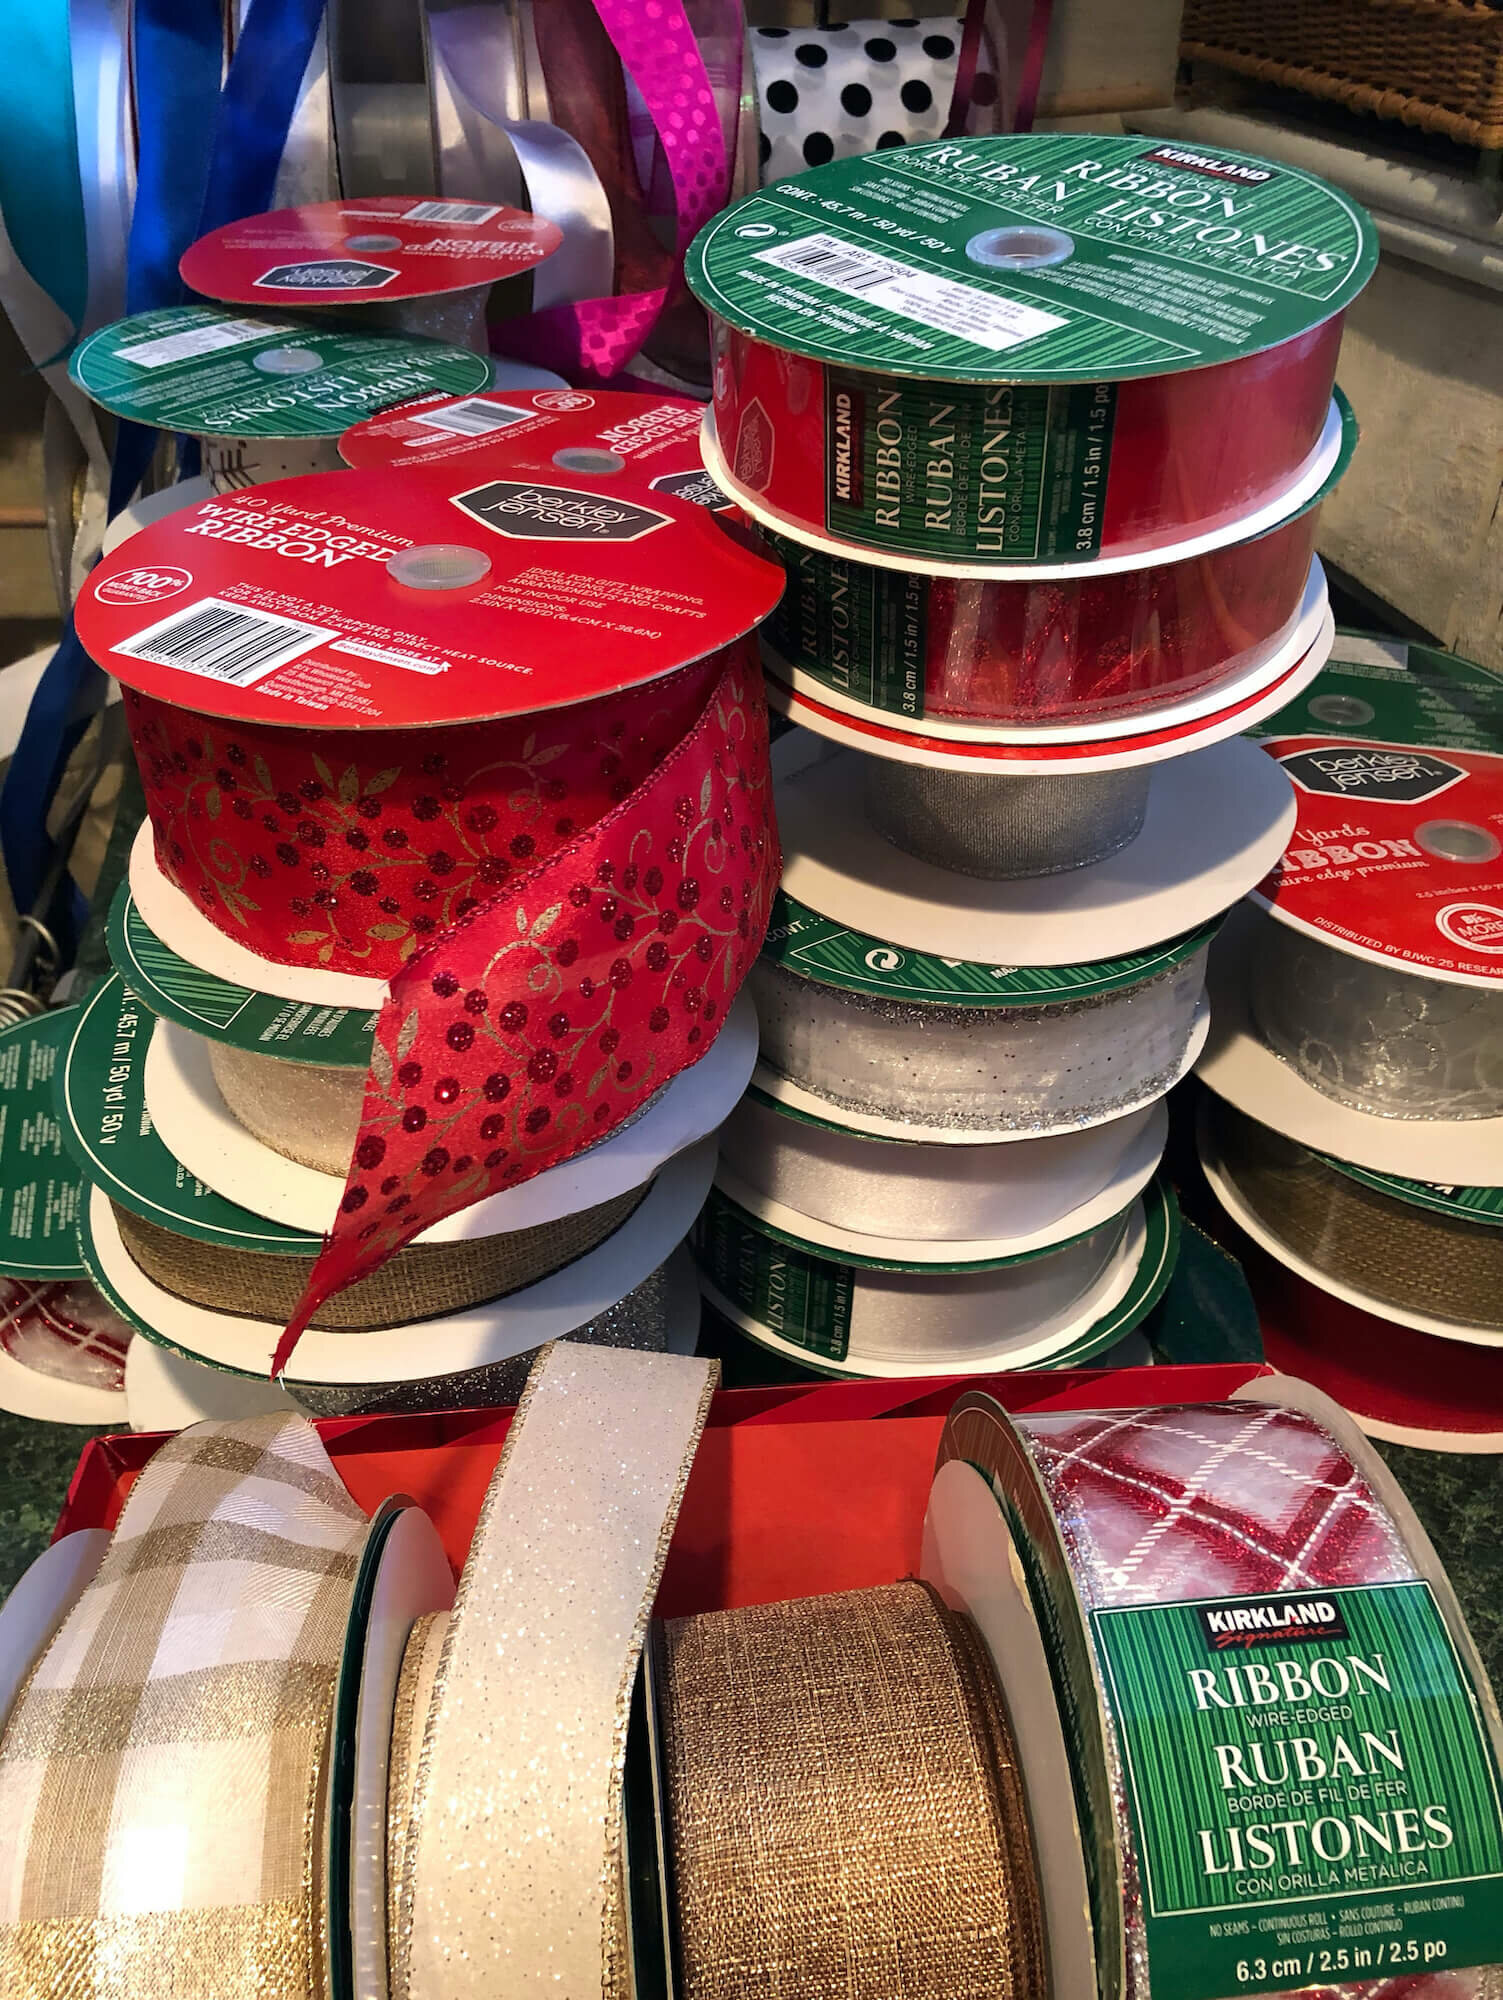
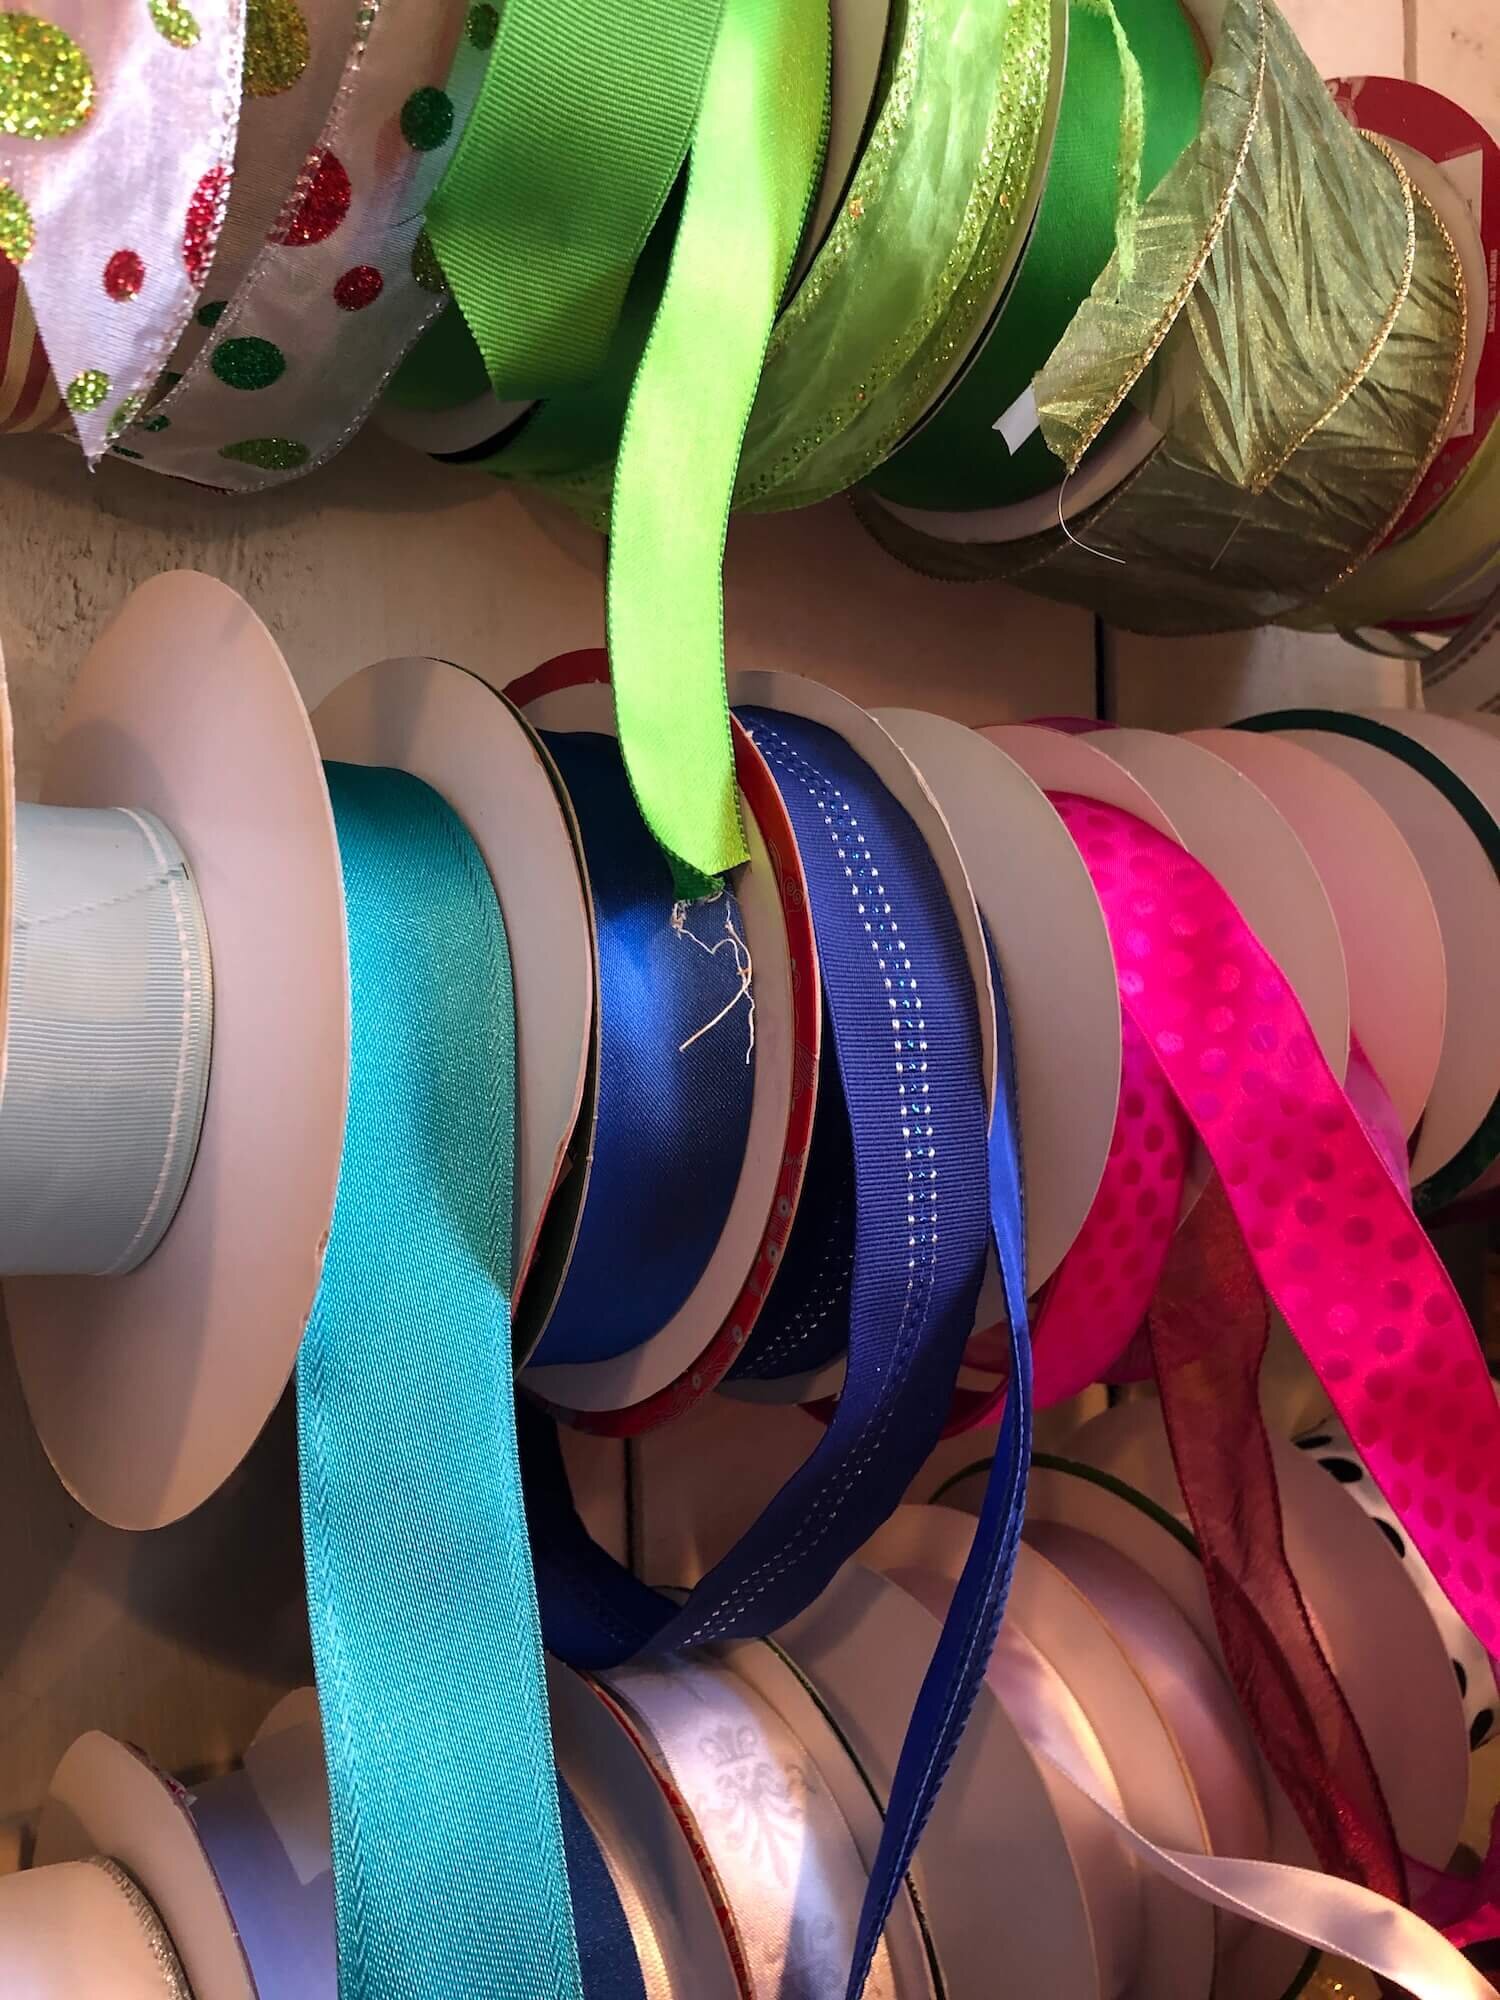
True confessions: I love pretty ribbon. And I have an embarrassing amount of it. This is, frighteningly, only SOME of it…I may need a 12 step program.
I buy rolls of wired ribbon whenever it shows up at Costco or BJ’s (you cannot beat the pennies per yard price!). I use it all year long for gift packaging, holiday decorating, table styling, and various other projects, but I swear it multiplies down there when I’m not looking?!
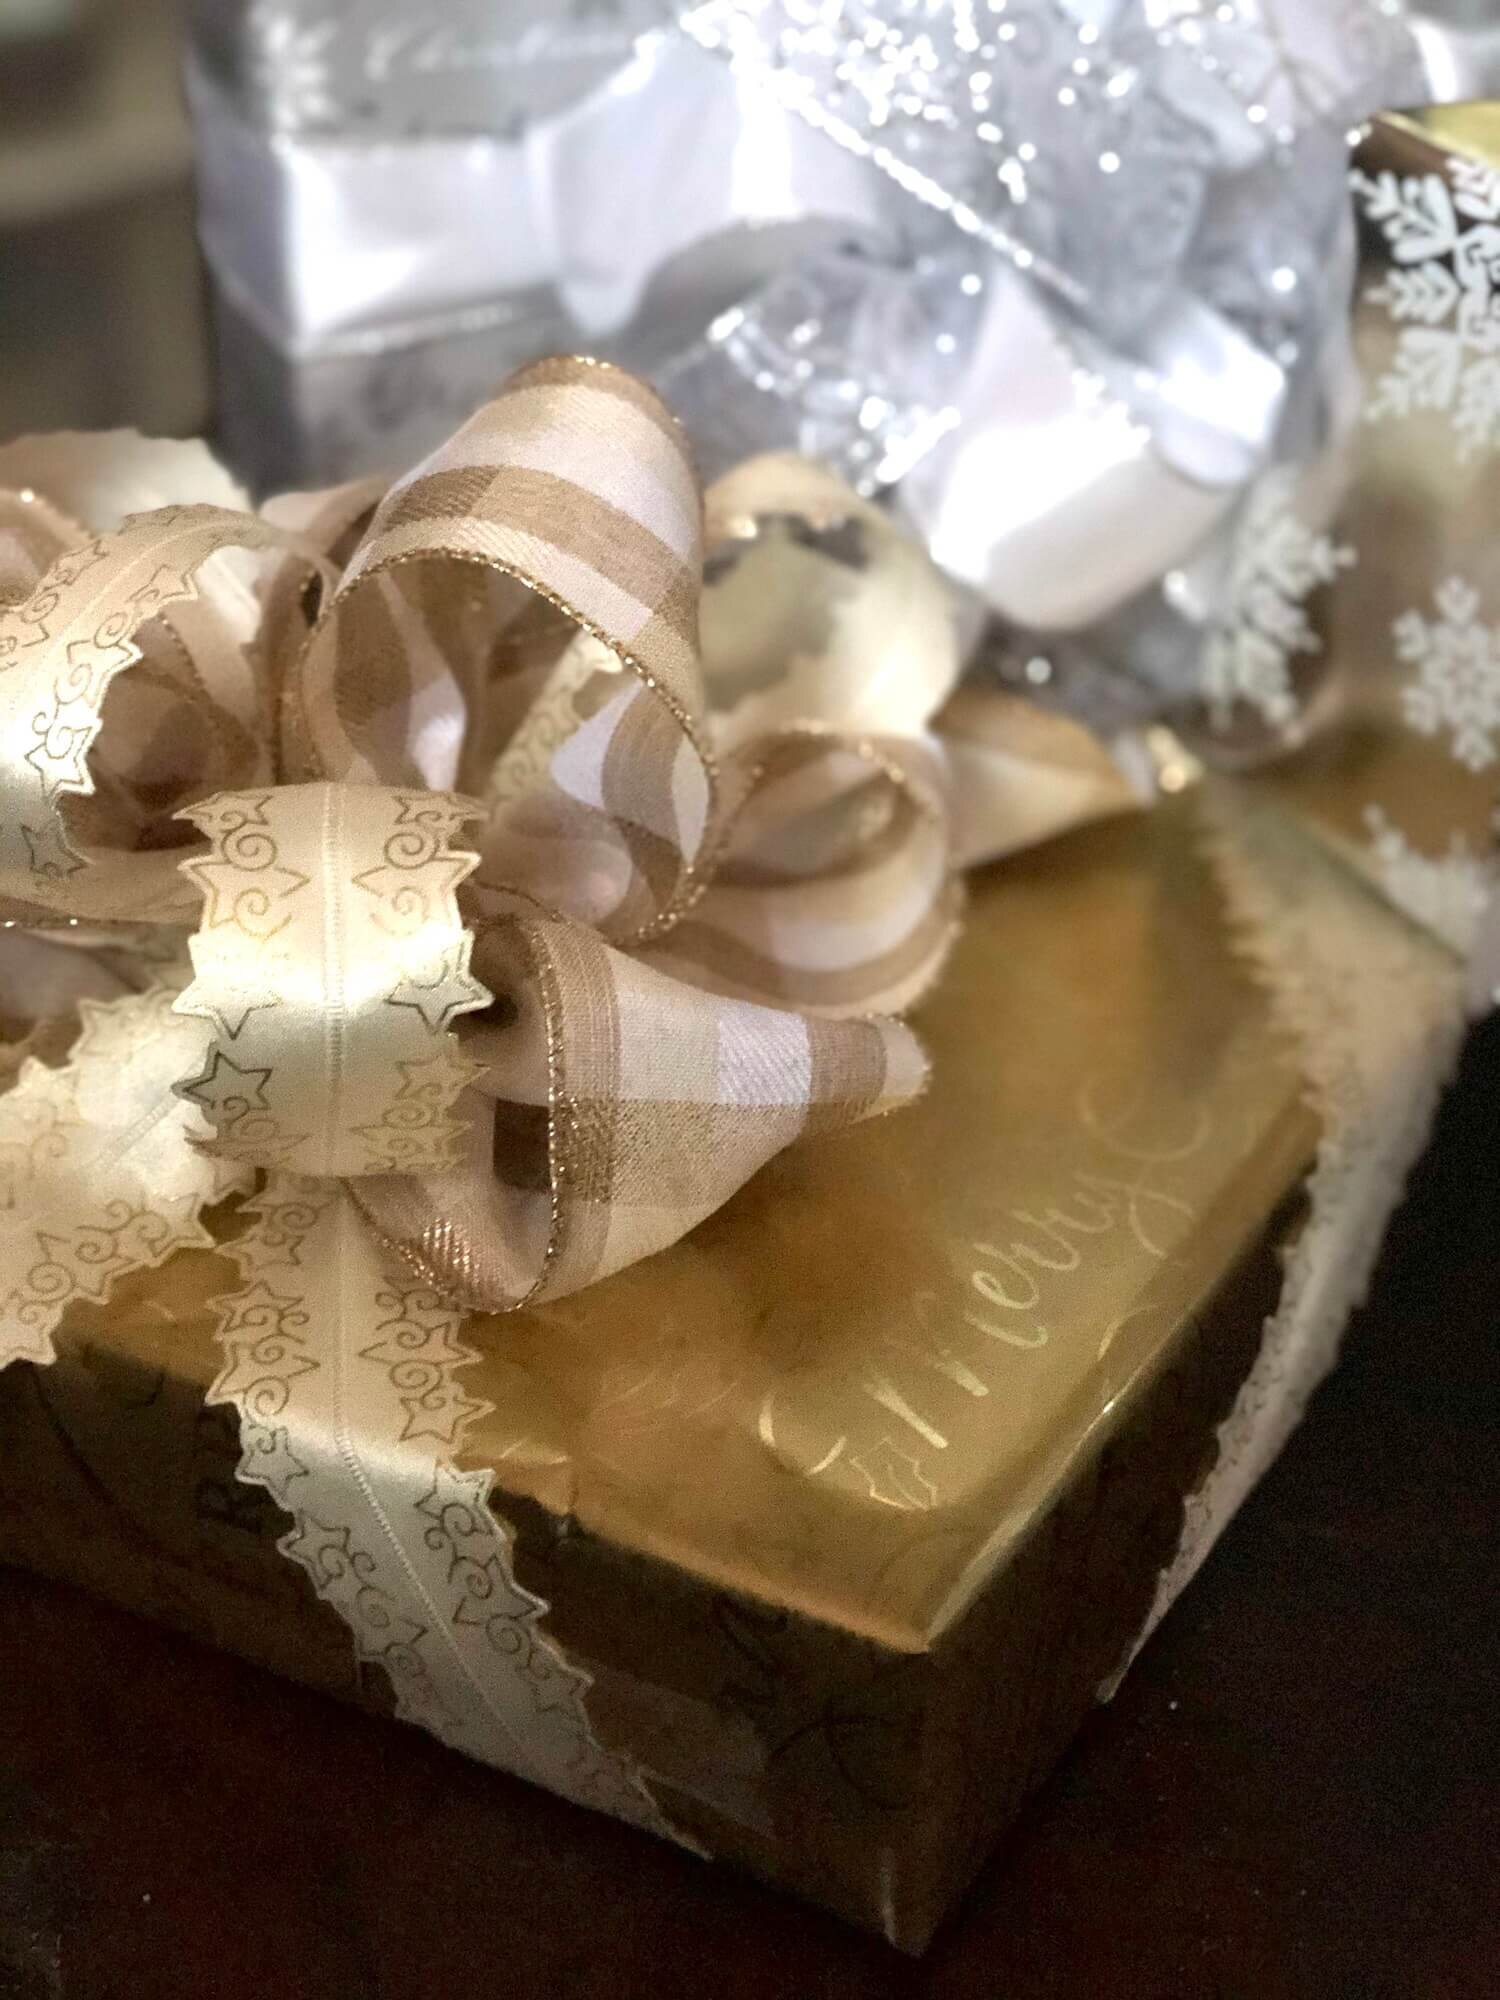
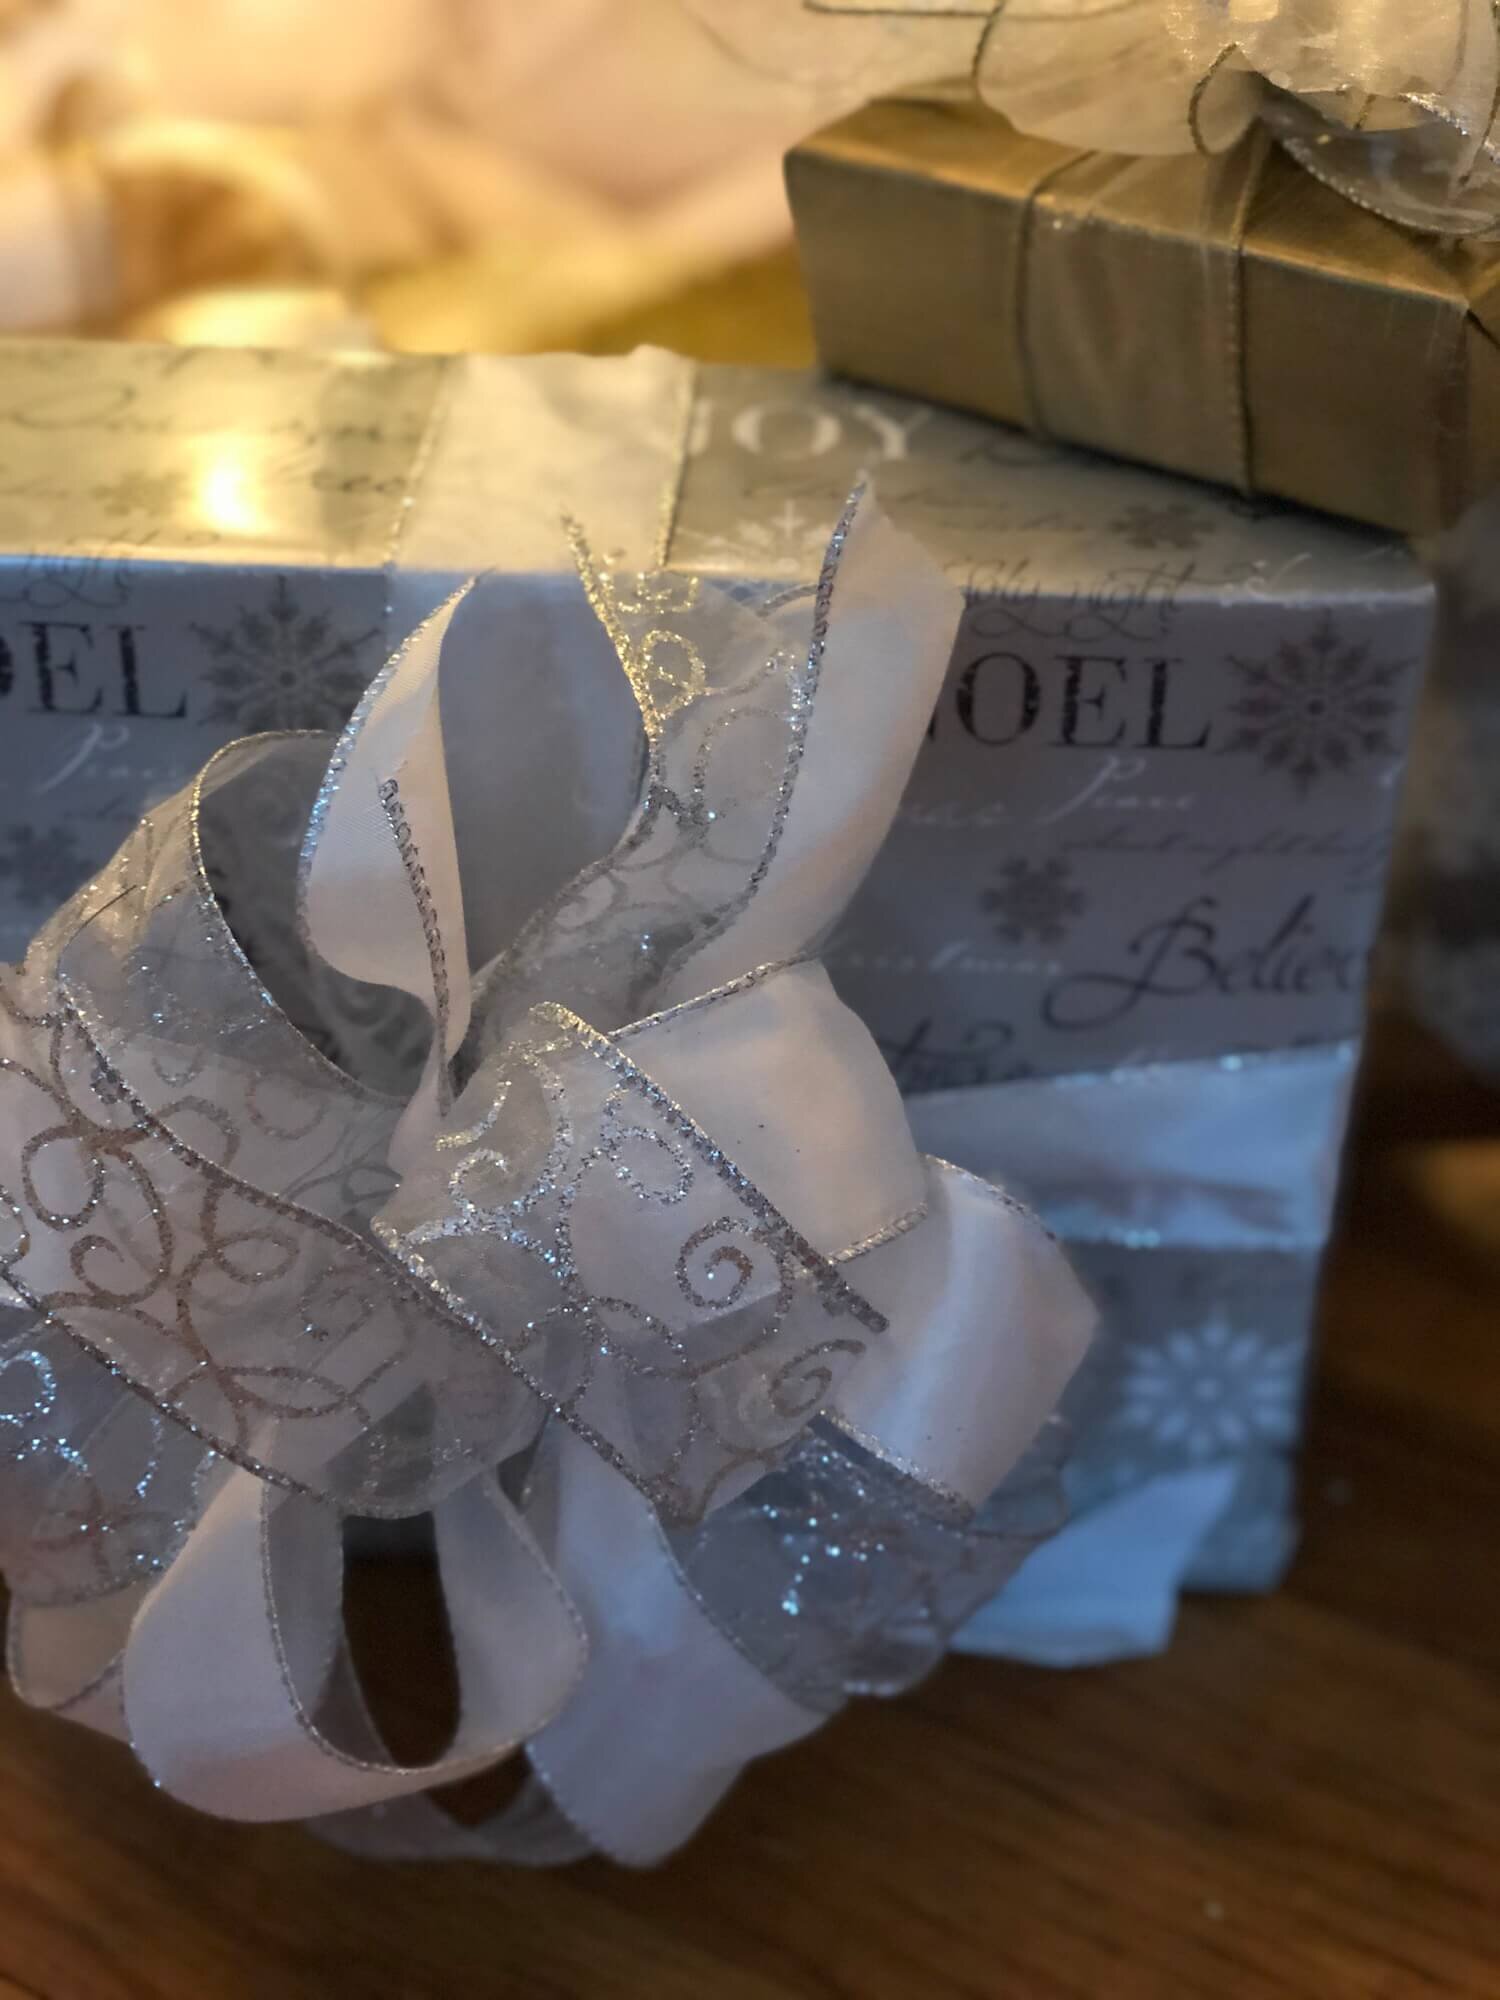
I love to wrap pretty packages with coordinating bows made with 2 or 3 different ribbons (just like the ones I advocate for wreaths).
And I have passed this on to my children it seems. When my son was around 4 years old, he saw the pile of packages that my friend and I had spent the day wrapping on our dining room table and looked at me aghast and said, “what about the bows? aren’t you going to put bows on the wrapper?”. Color me proud. Of course I was :) , but I always do it somewhat assembly line style, wrapping all the boxes first and then be-ribboning them all.
When adding ribbon, be sure to vary the placement, with some boxes wrapped in the ribbon corner to corner and some on the center of each side. The shape of the box and the pattern of the paper will help determine ribbon placement, but plan for different orientations with some tall and some wide for a pleasing mix under the tree.


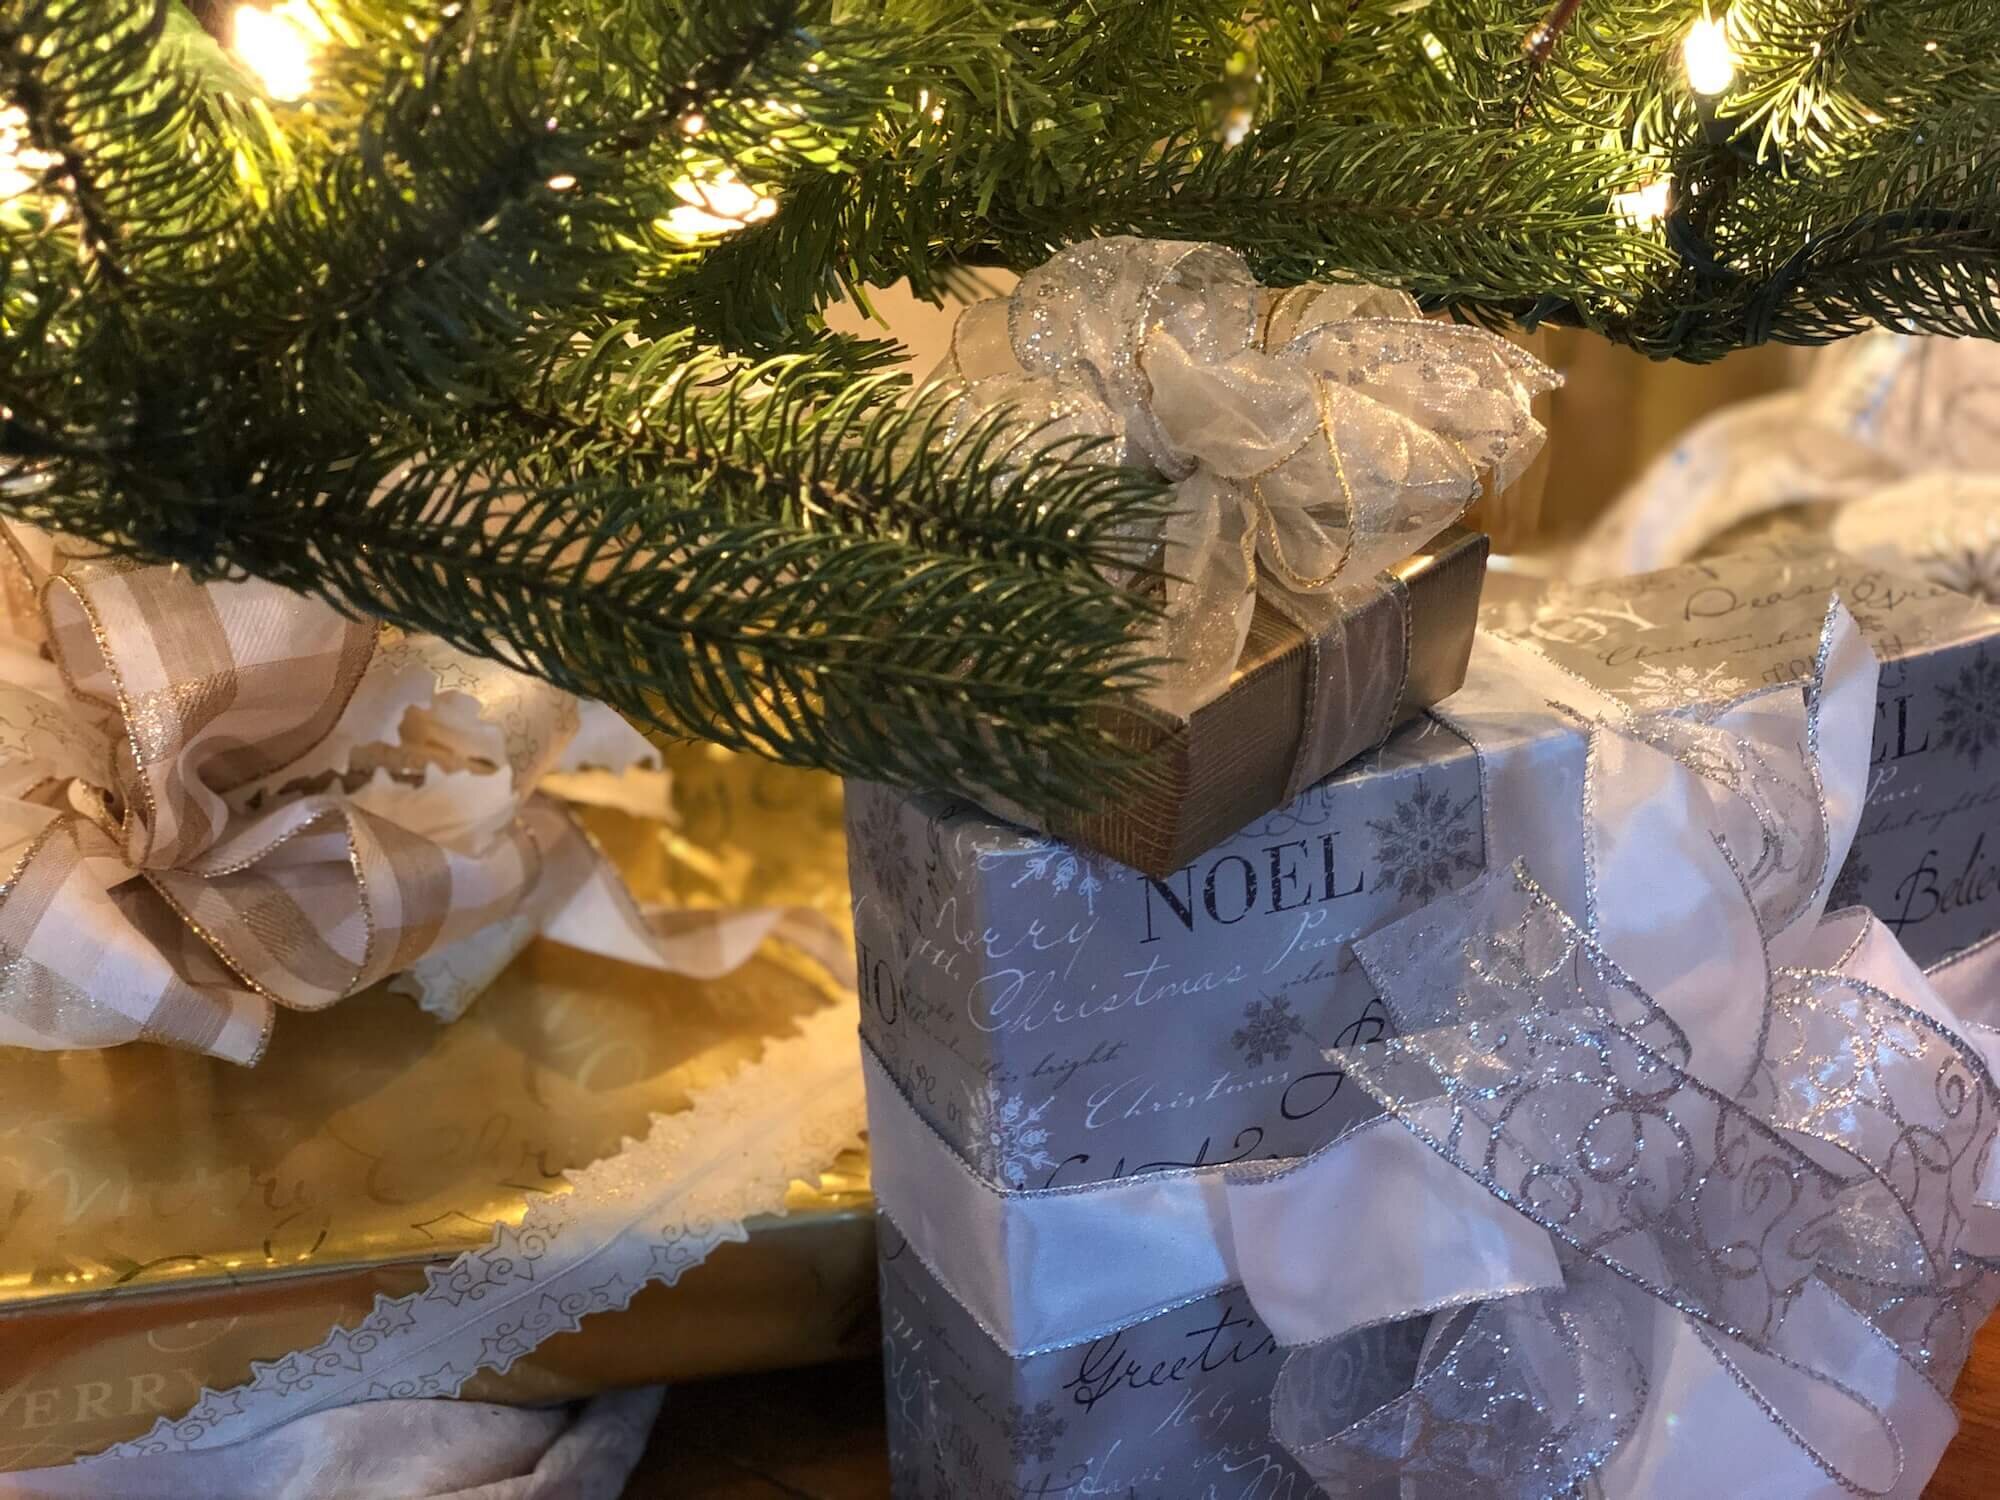
I love this ivory ribbon with the die-cut star edge!
But the right bows or embellishments matter. If you want beautiful packages, just say no to stick-on bows. They are rarely of the right scale for the package and unless you are doing a retro look, are unlikely to convey the right message with your beautiful tree.
I do have nostalgic memories of them as they were the only option back in the day, but in general, packaging you can buy by the bagful at the dollar store is not going to scream elegant.
In place of ribbon, you can also use twine or bakery string for a rustic or whimsical look, and in lieu of bows, you could tie a simple square knot and add an ornament, or sprig of greens, or pinecones, or candy canes or bundled cinnamon sticks…as you can see, the possibilities are limitless!

Can you believe it’s almost Christmas?? This year has gone both incredibly fast and incredibly slow…depending on who and when you ask! I hope you will find joy, beauty, and peace this holiday season.

